

今回は、WordPressを導入したら知りたい設定を7つ紹介します。
読者像
今回の内容は全く知識がない初心者でも分かるようなものとなっています。「他のページを見てもわからない」そんな人は是非見ていってください!
その前に、管理画面へのログイン方法を説明します。
WordPressをインストールしたドメイン(一般的にはサイトドメイン=○○○○○.comのようなもの)に/wp-login.phpをくっつけたリンクにアクセスします。すると、このような画面が出てきます。
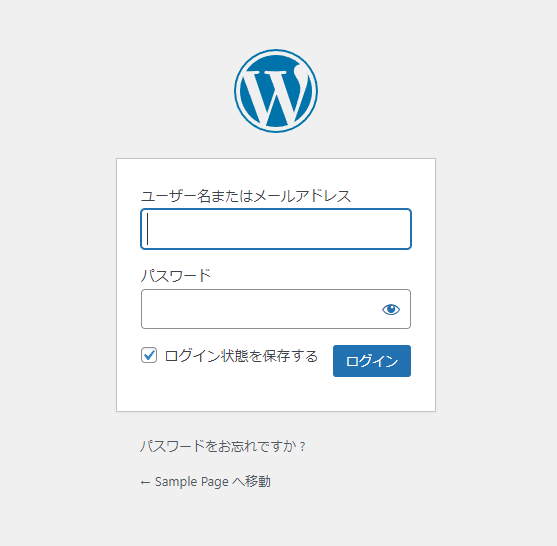
ここで設定したユーザー名とパスワードでログインします。「ログイン状態を保存します」を押すと次回からログインする必要がなくなります。ログインすると、次のような画面が出てきます。
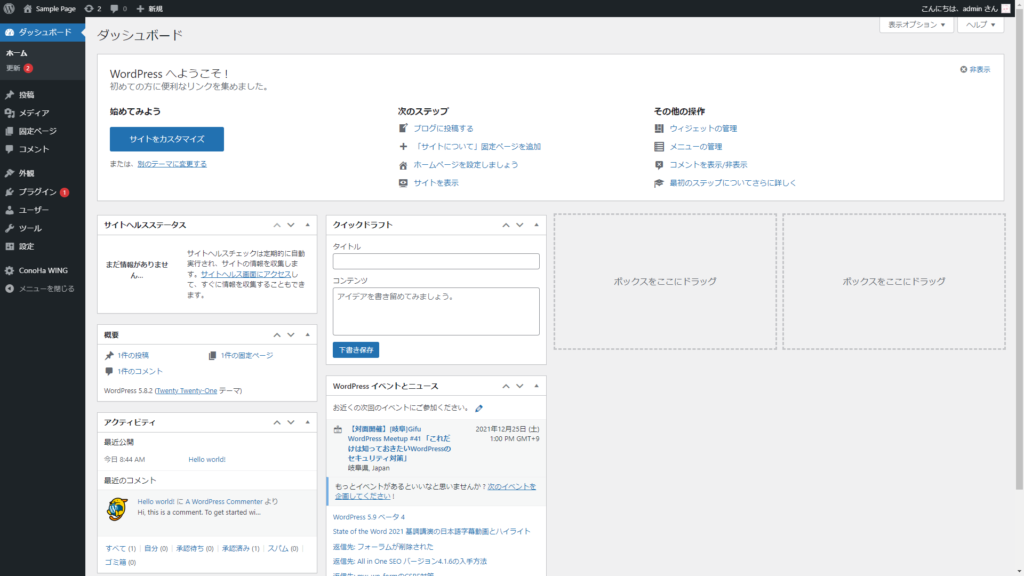
これでログインは完了です。
おすすめ設定
テーマを適用
見た目はとても重要な要素です。テーマを変更するだけでイメージは大きく変わります。
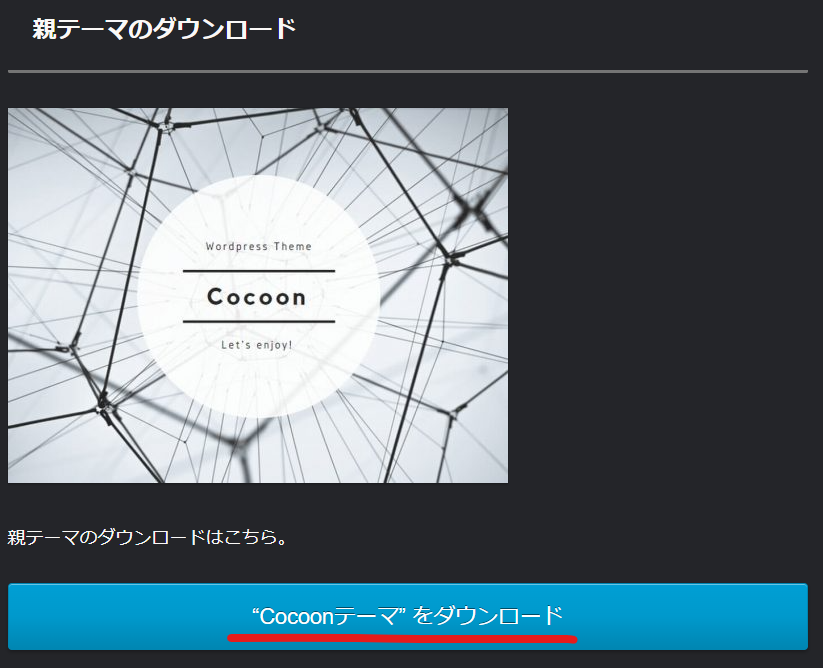
今回はこのページでも使用しているテーマ「Cocoon」を導入する方法を紹介します。
Cocoonテーマのダウンロード | Cocoon (wp-cocoon.com)
ここからCocoonの親テーマと子テーマをダウンロードします。
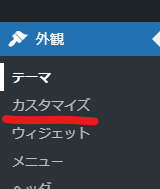
その次に、テーマを導入します。「外観」ページに飛びます。
新規追加からテーマのアップロードに飛びます。


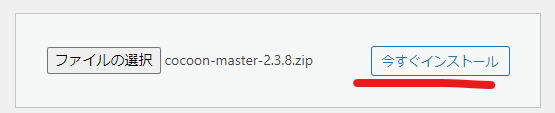
ファイルを選択を押して、ダウンロードしたzipファイルを選択します。

選択できたら、「今すぐインストール」インストールを押します。

次に、子テーマをインストールします。
先ほどと同じ手順で子テーマのzipファイルを選択して、インストールします。
再び外観を選ぶと、親テーマと子テーマが両方入っていると思います。Cocoonの親テーマの画像にマウスポインターを持っていくと「有効化」が出てくるのでクリックします。
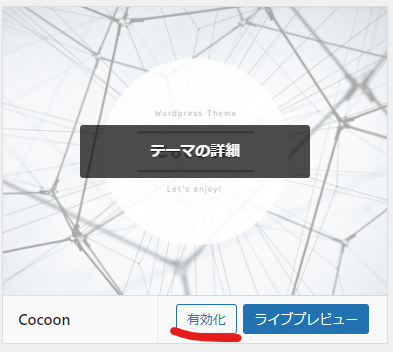
これで設定は完了です。
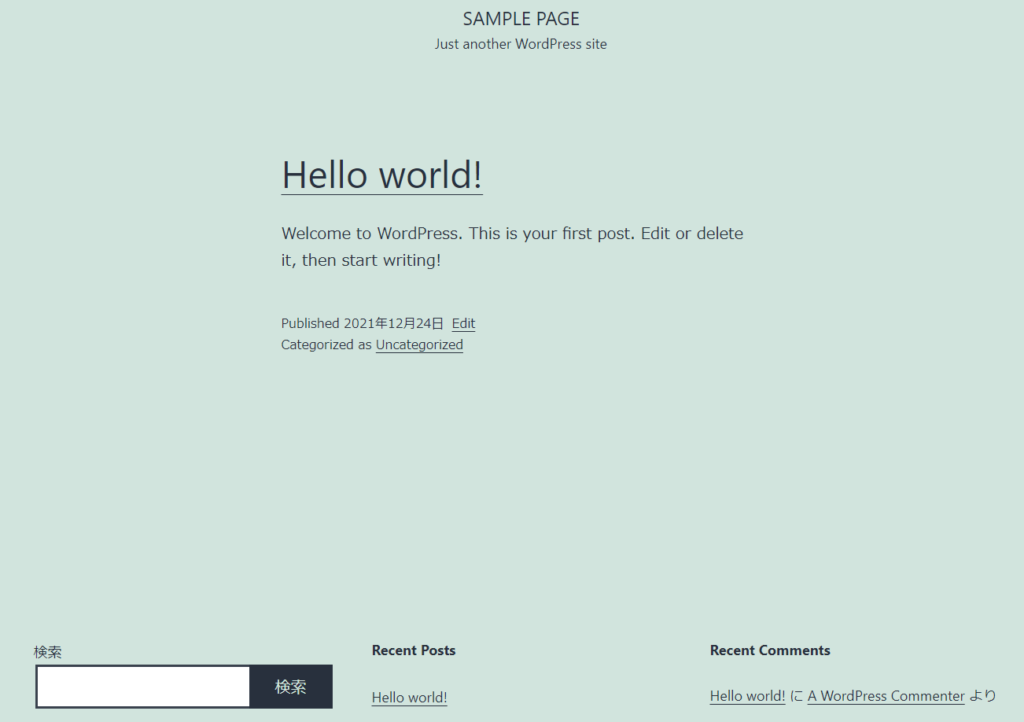
再びサイトにアクセスすると、見た目が大きく変化していると思います。
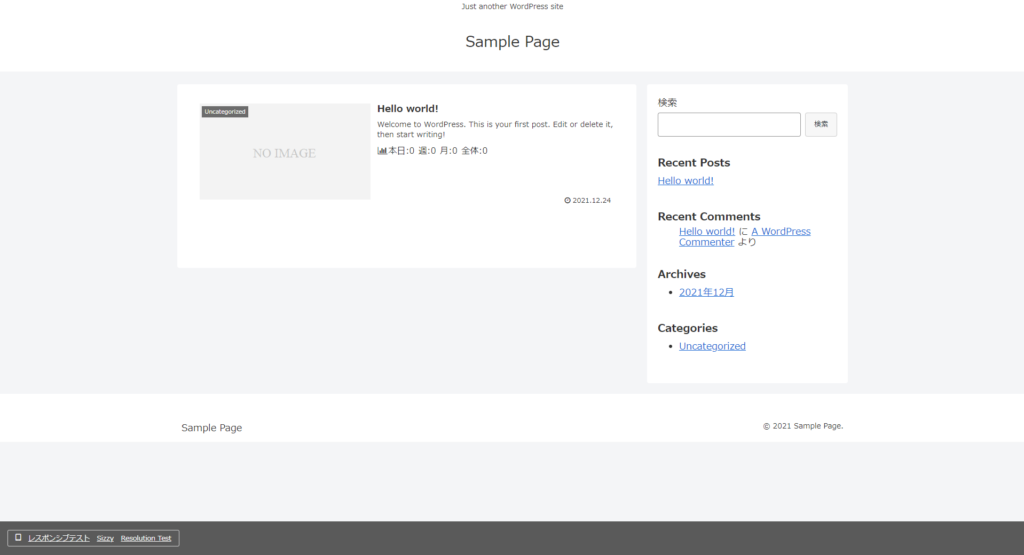
皆さんもこのようなレイアウトのサイトを見たこと見たことがあると思います。利用者が多いのでわからないことがあっても検索したら出てきます。
パーマリンクの設定
パーマリンクの設定を変更するだけでページのURLがわかりやすくなります。
設定の中にあるパーマリンクをクリック。
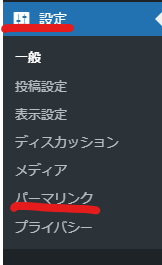
この中にある、「投稿名」を選択します。これでOKです。
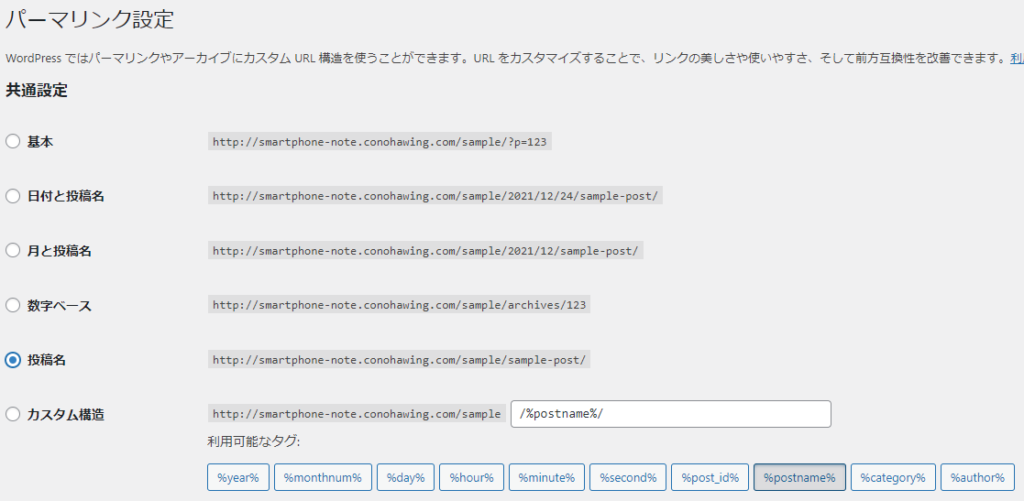

こんなに分かりずらかったURLが….

わかりやすく!
問い合わせフォームの作成
問い合わせフォームはGoogle AdSenseの審査の前提条件になっているとよく言われています。必ず作成しておきましょう。
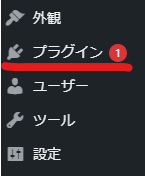

プラグインをクリックした後、プラグイン横の新規追加をクリックします。
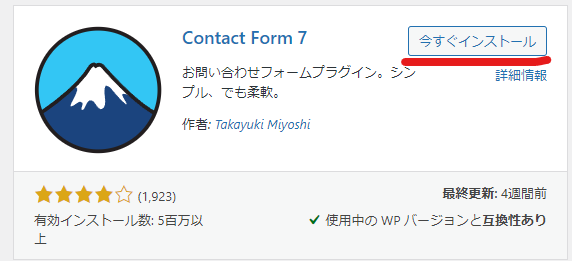
「プラグインの検索」にContact Form 7と入力します。

その後、下のようなものが出てきたら、その中にある「今すぐインストール」をクリックします。
「有効化」ボタンが表示されたら、それをクリックします。
すると、サイドバーに「お問い合わせ」という欄が現れます。

コンタクトフォーム1を選択します。

すると、このような画面が出てきます。この文章を編集することによって、お問い合わせフォームの構成を変更することができます。
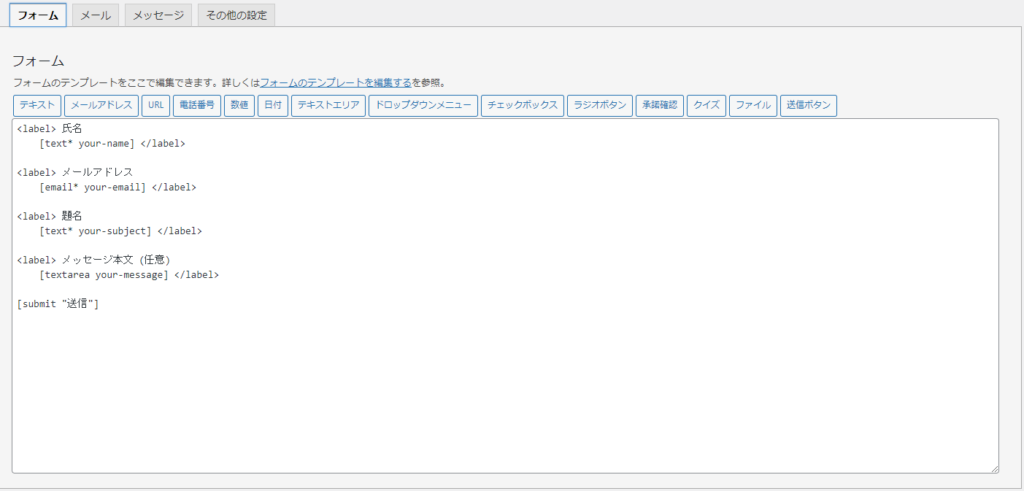
今回は最低限の設定なので、説明は省略します。
次は、ショートコードをコピーします。コンタクトフォーム1の横にあるショートコードをコピーしましょう。

その後、固定ページを新たに作成します。

固定ページをクリックした後に、新規追加をクリックします。
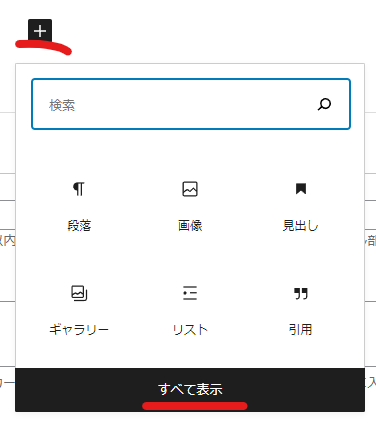
すると、このような画面が出てきます。
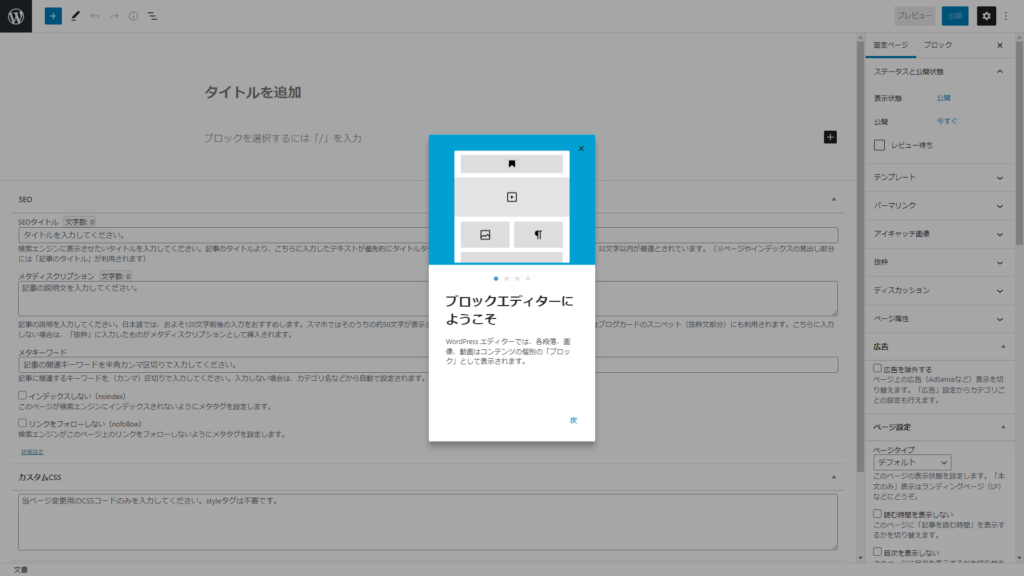
このポップアップは閉じて、作業に移ります。
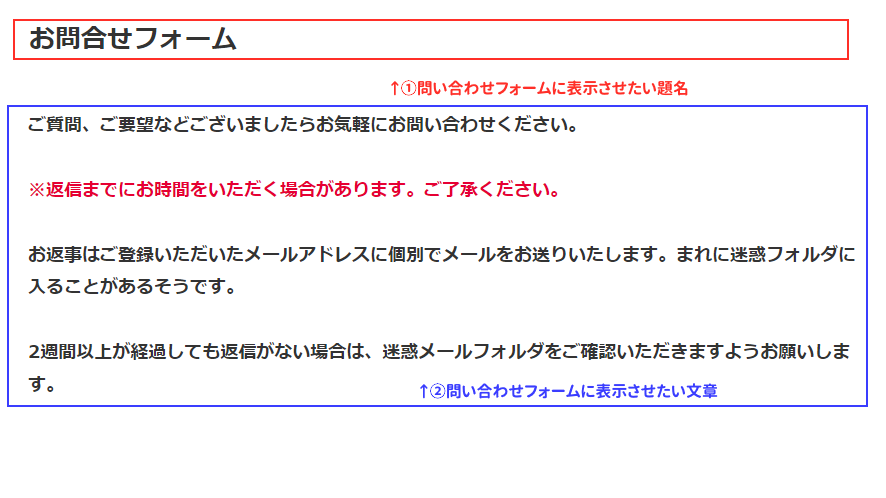
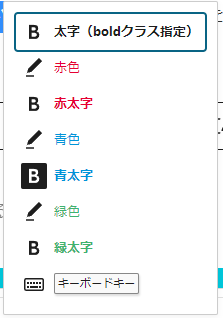
題名と表示させたい文章を入力します。文字を太くしたい場合などは、表示されるメニューからオプションを選択します。

その後、ショートコードを埋め込みます。
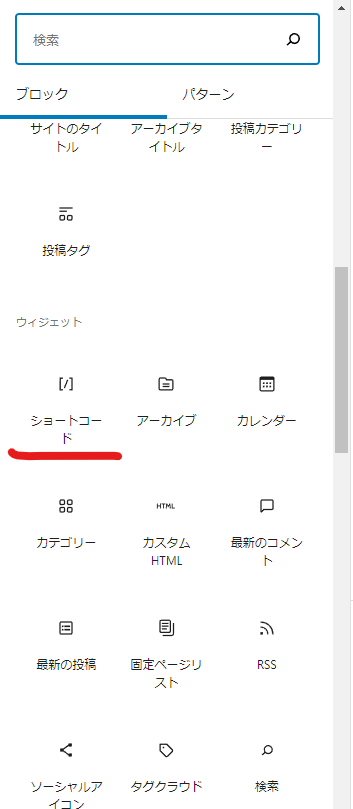
そして、「ショートコードをここに入力」のところに先ほどコピーしたコードを入力します。


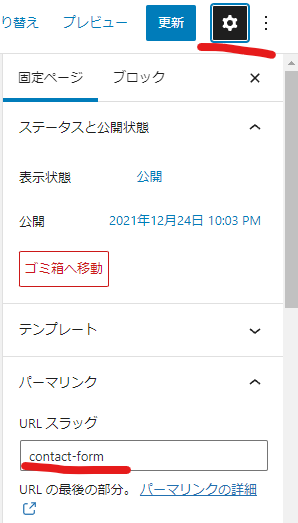
後は 下にスクロールすると出てくる設定の中にあるnoindexにチェックを入れて、

パーマリンクをわかりやすくしたら、
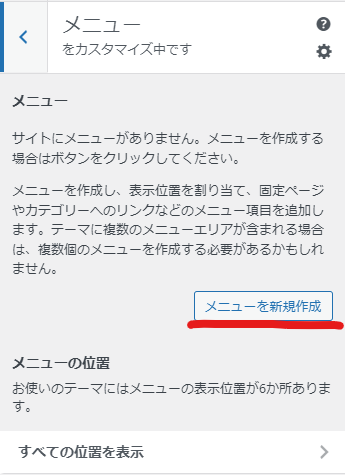
後は、フッターメニューにでも設置しましょう。カスタマイズをクリックして…
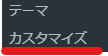
メニューを開いて…

新規作成して…
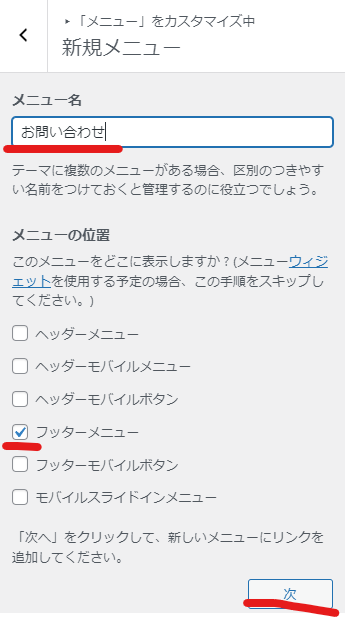
メニュー名をつけてフッターメニューをクリックして..
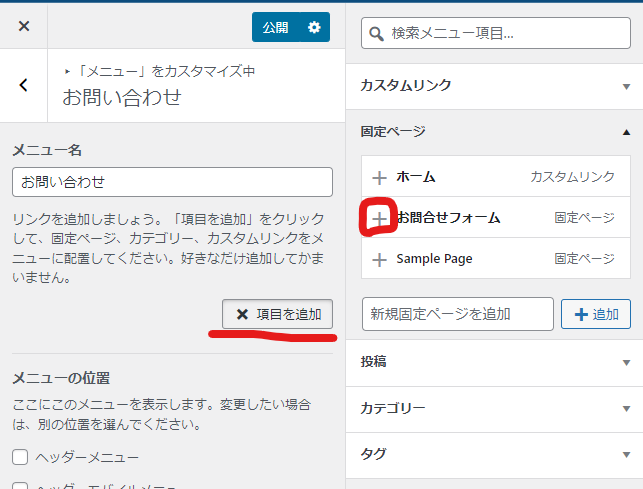
項目にお問合せフォームを追加して…
公開ボタンをクリックすると完成です!
ここから見ることが可能です。
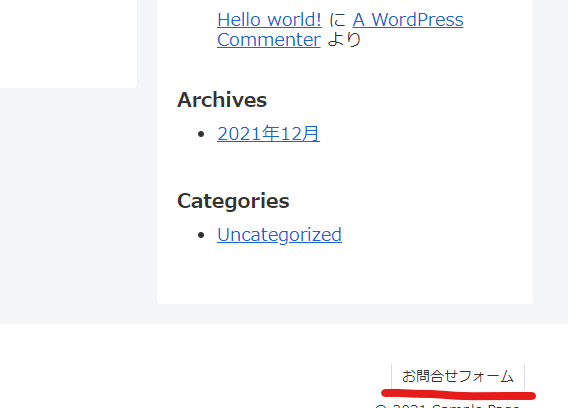
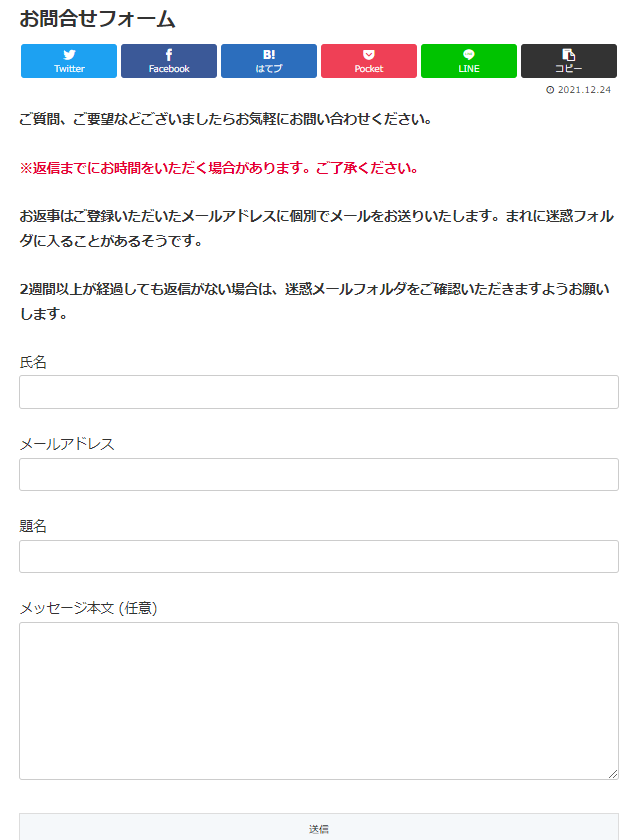
実際に見てみたい方はこのページを開いてください!
お問合せフォーム | Sample Page (conohawing.com)
サイドバーの設定
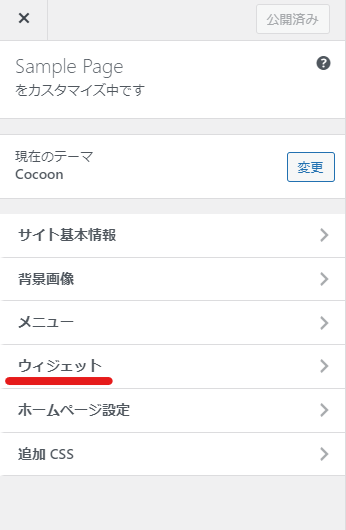
次にサイドバーの設定をしていきます。カスタマイズを開きます。
ウィジェットを開き..
サイドバーを開きます。
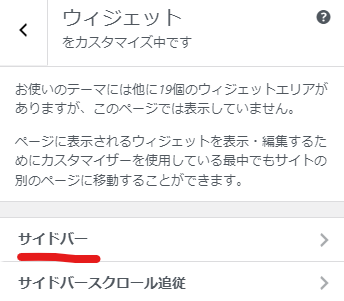
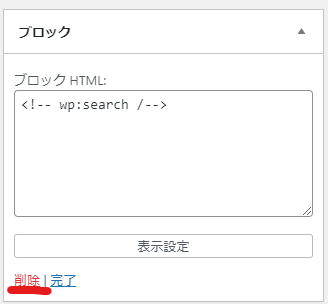
このメニューからサイドバーを変更できます。
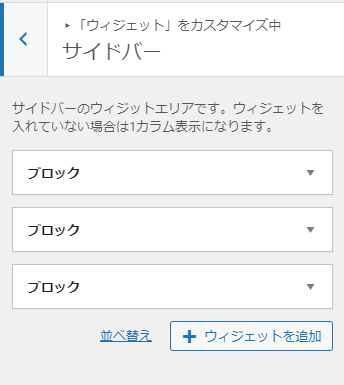
削除することも可能ですし、
要素を追加することもできます。
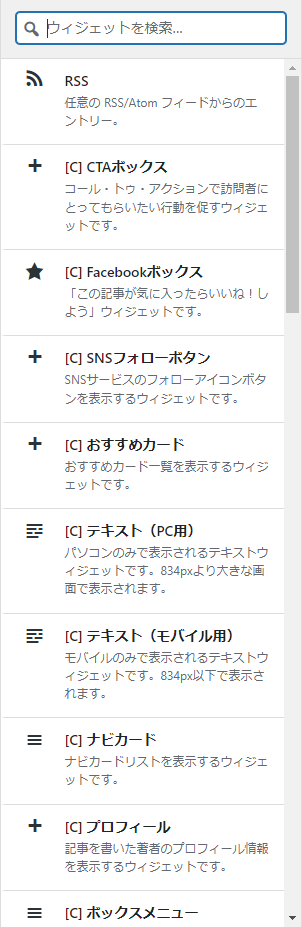
私は人気記事を追加しておきました。
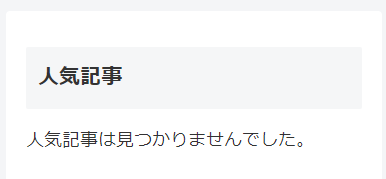
公開ボタンを押せば設定完了です。

スキンの変更
ページのスキンもサイトのイメージに大きく関係します。今回はCocoonの設定を変更していきます。
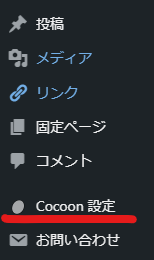
スキンを選択して、
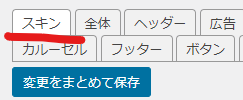
スキン一覧から好きなものを選びます。
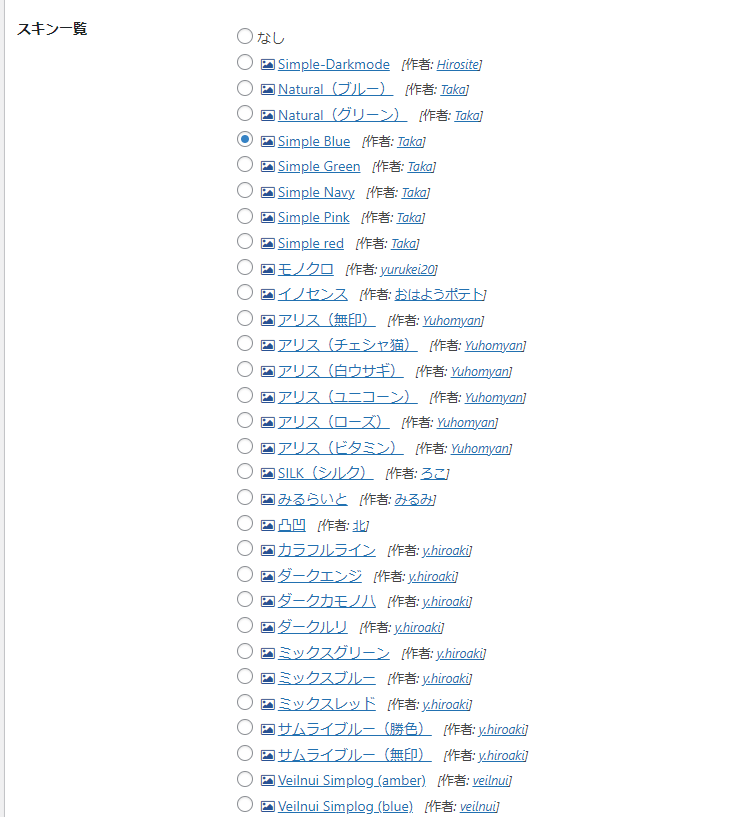
選択したら、変更をまとめて保存を押します。
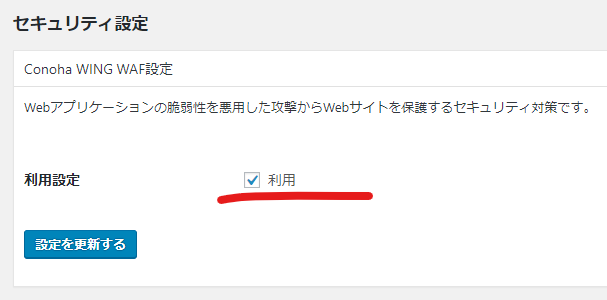
しかし、このようなエラーが出る場合もあります。セキュリティ機能が働いているためです。

そういうときは、WAFを無効化すればOKです。今回はConoHa wing での方法を紹介します。
ConoHa WINGから…
ここのチェックボックスを外します。
その後もう一度試すと、成功するはずです。
※セキュリティ機能なので、無効化した後はすぐに有効化しましょう。
サイトカラーの変更
サイトのカラーを変更します。
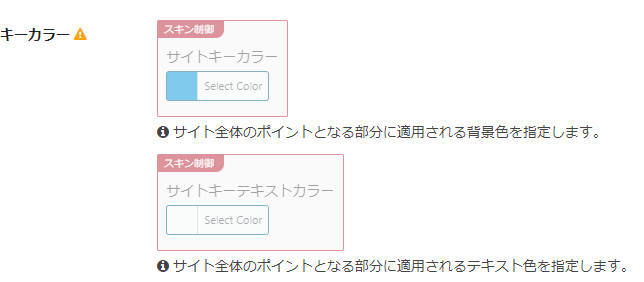
※スキンによってはこのように表示されて変更できない場合があります。
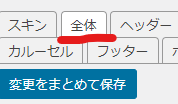
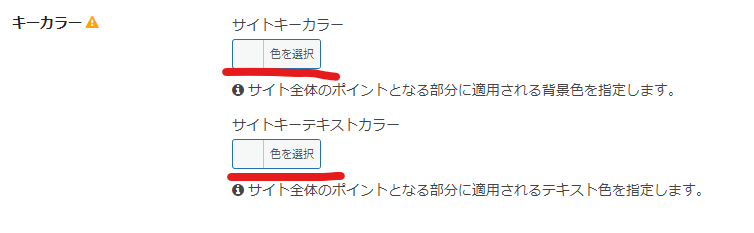
全体をクリックして、
サイトキーカラーを変更します。サイトキーテキストカラーも変更できますが、文字色が変わってしまうので慎重に変更しましょう。
フォントの変更
サイトフォントメニューからフォントを変更できます。
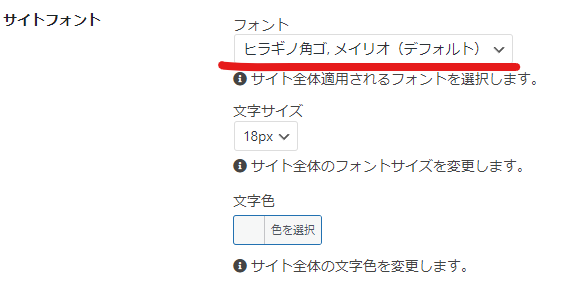
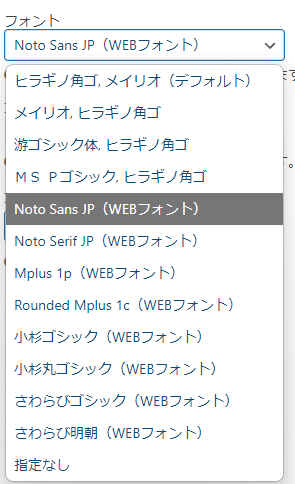
ちなみに私はNoto Sans JPを使用しています。
これで完了です!
まとめ
初期設定から…
このようになりました。


コメント