
先日(3か月前)はConoHa VPS上のKUSANAGI環境にWordpressを導入しました。
カレンダーも届きました。
 花咲 春
花咲 春ありがとうございました!
雑ではありますが、KUSANAGI managerとPST Managerを安全に利用する方法をまとめておきます。※コロナで自宅待機中
注意事項
ConoHa VPSにてCloudflareを利用している前提で話を進めます。とはいっても、ほかのVPSサービスでも応用が利くと思いますので参考にしていただければと思います。
また、無料で利用することはできますが、Cloudflare Zero Trustを利用するので決済情報が必要です。
なぜCloudflare Access・Tunnelを使うのか
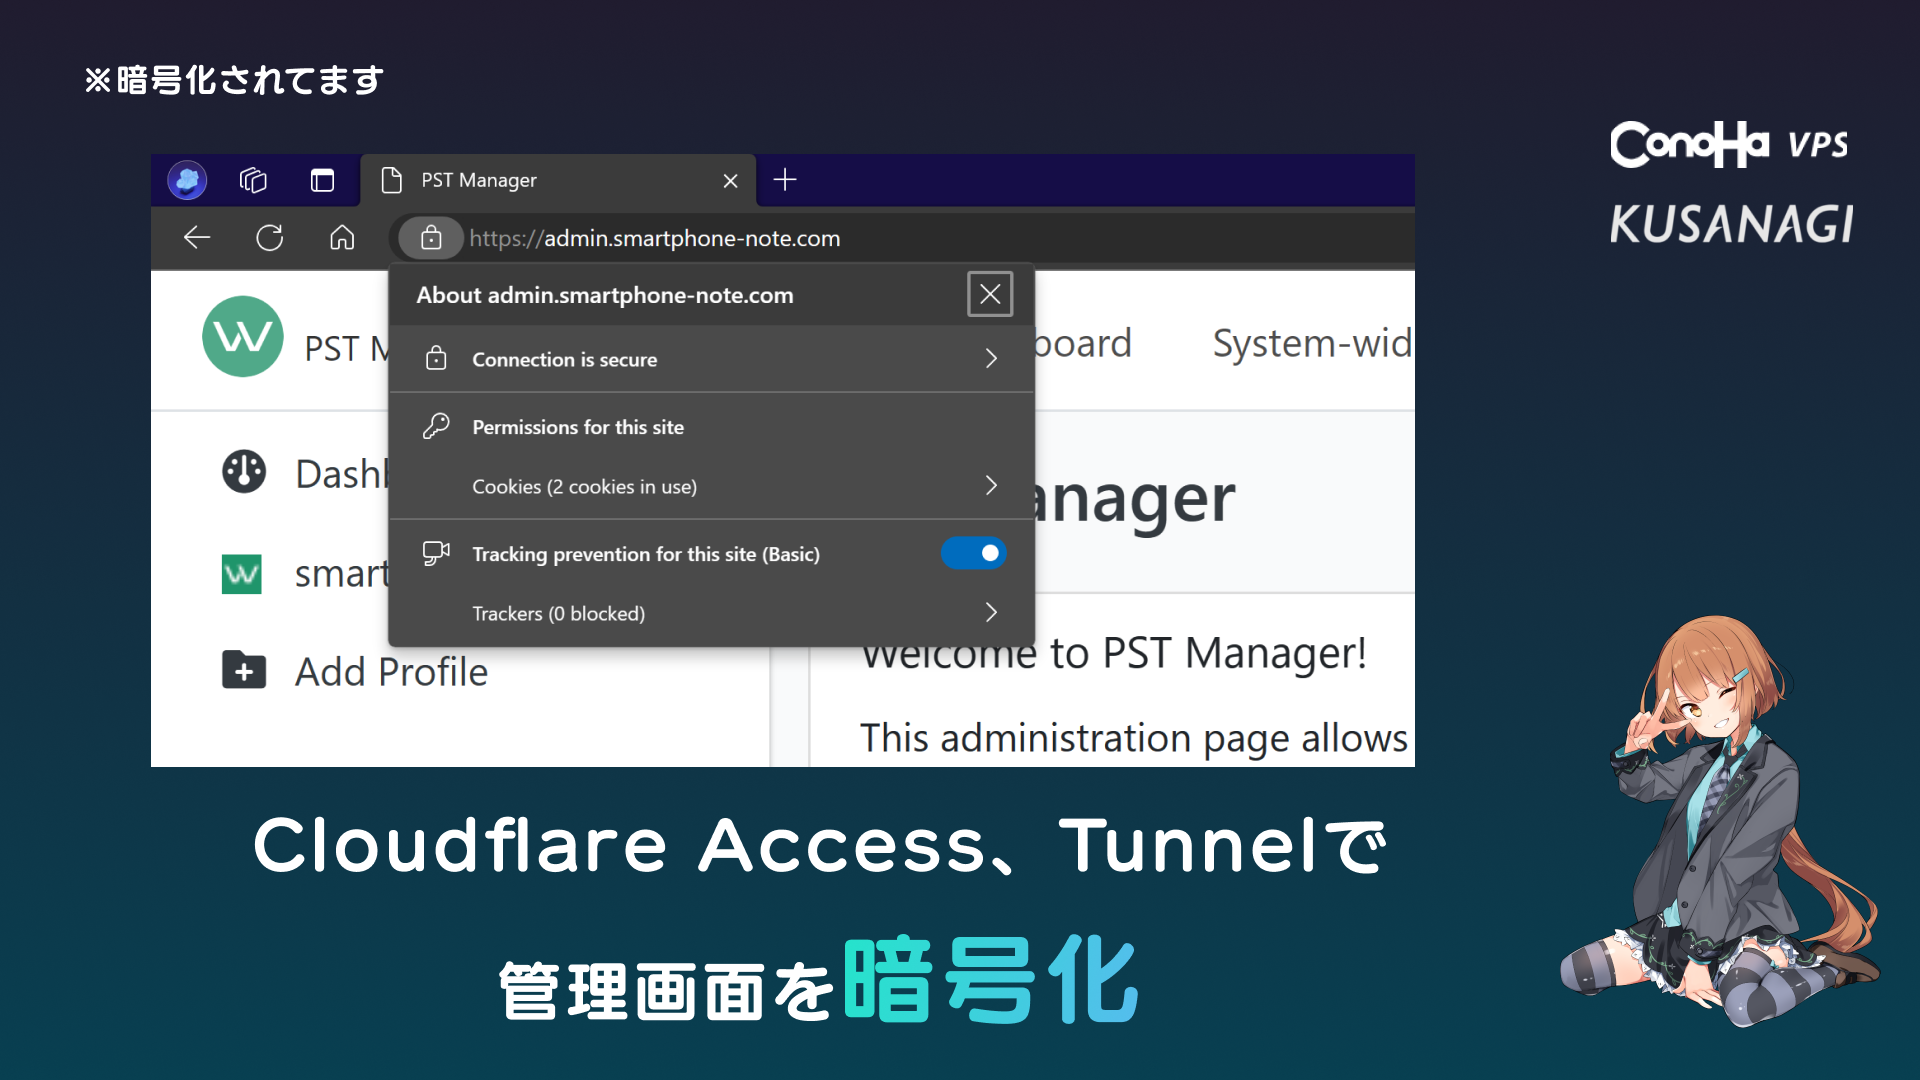
KUSANAGI managerとPST ManagerはTLSで暗号化されていないためログイン情報が盗聴される恐れがあります。サーバーの管理画面のパスワードを安全に保つため、該当ポートを開かずにCloudflare Tunnel経由でアクセスしよう!、という話。
Cloudflare Zero Trustを設定
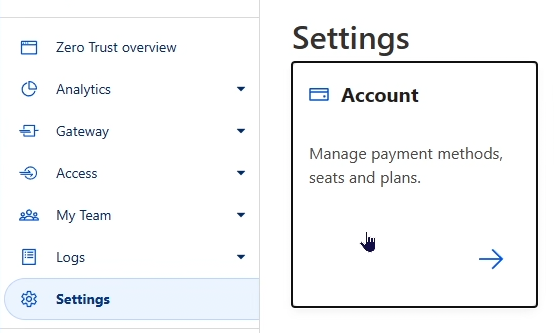
Zero Trustのメニューからアカウント設定へ
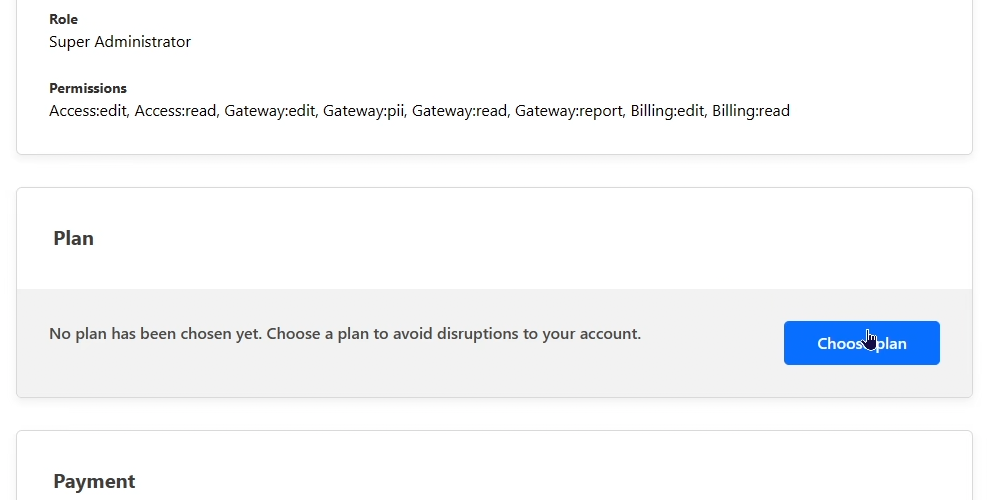
プランを選択
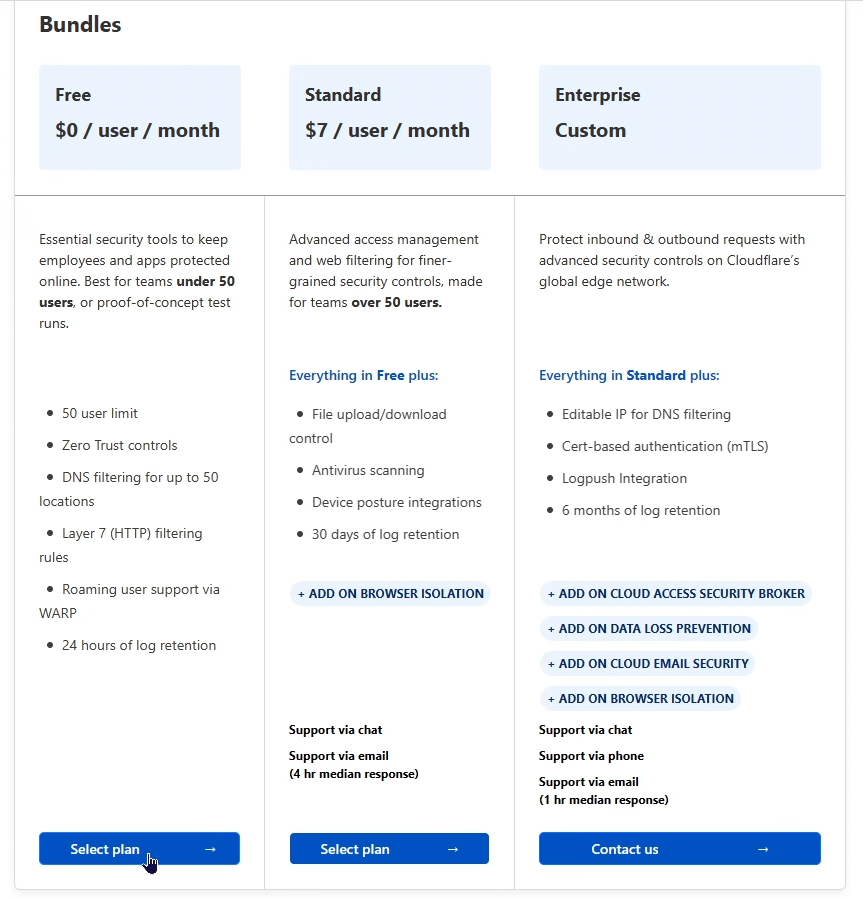
もちろん無料プラン
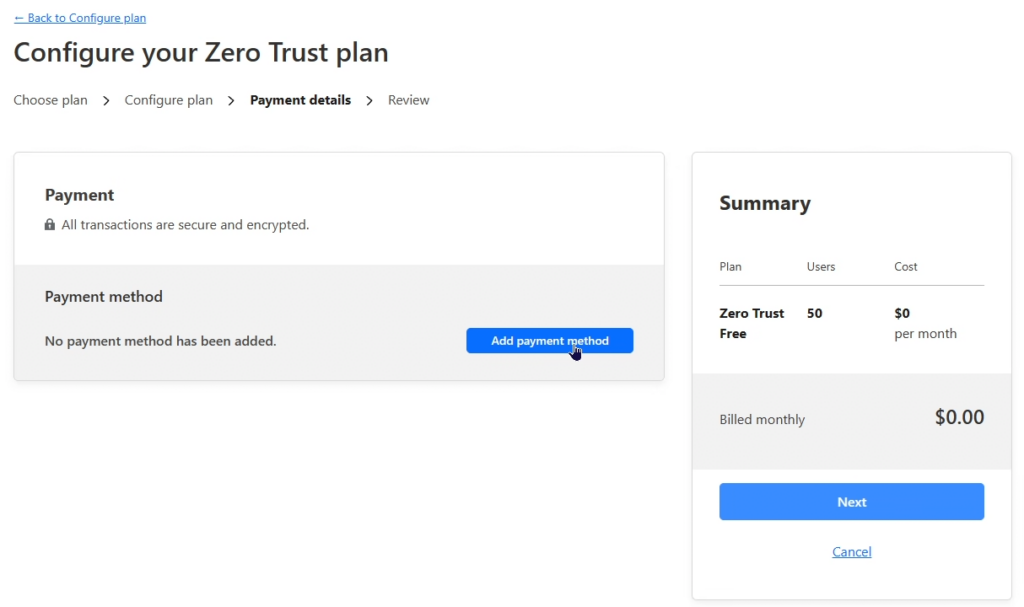
無料プランを選ぶと決済情報の入力画面に遷移します。お好みの決済手段を登録してください。
Cloudflare Tunnelの設定
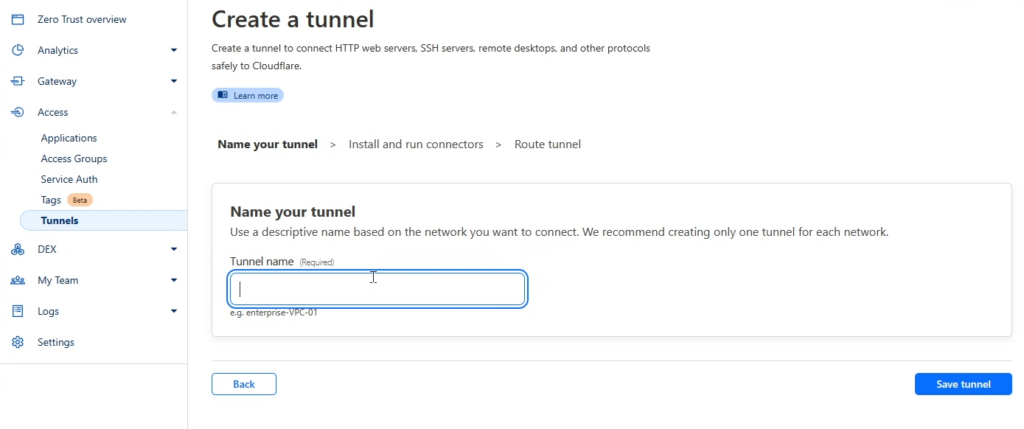
Tunnelsから新しいトンネルを作成
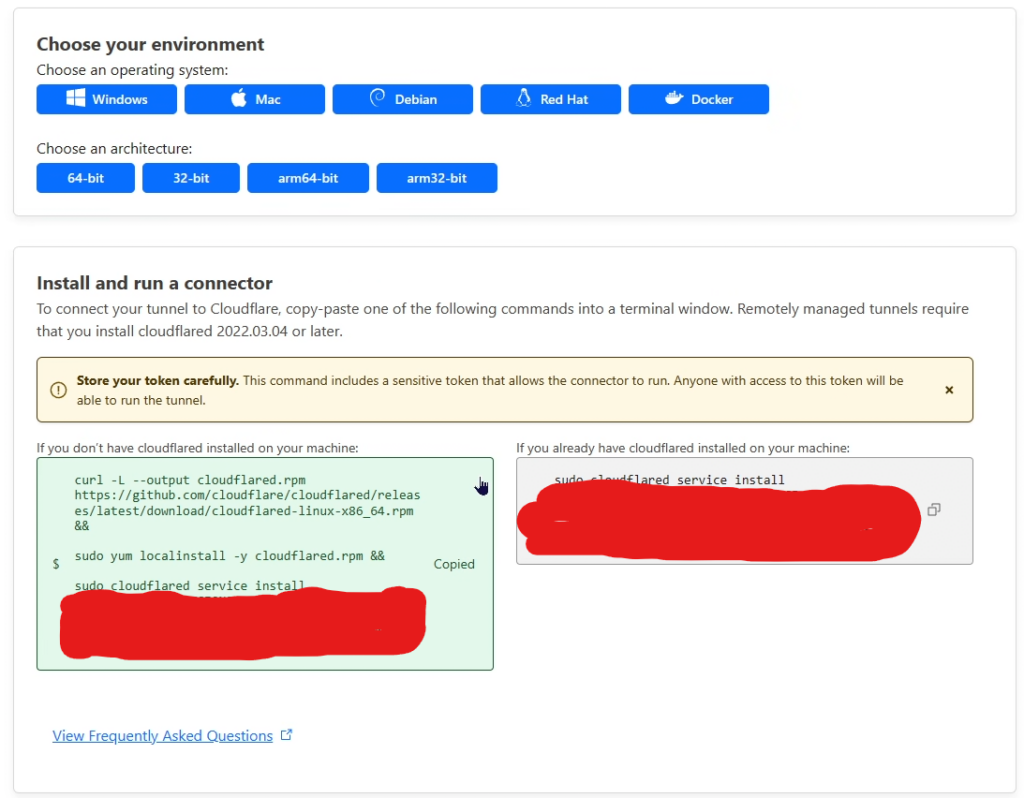
CloudlinuxはRed Hat系なのでRed Hatを選択したうえで左側のコマンドをコピー
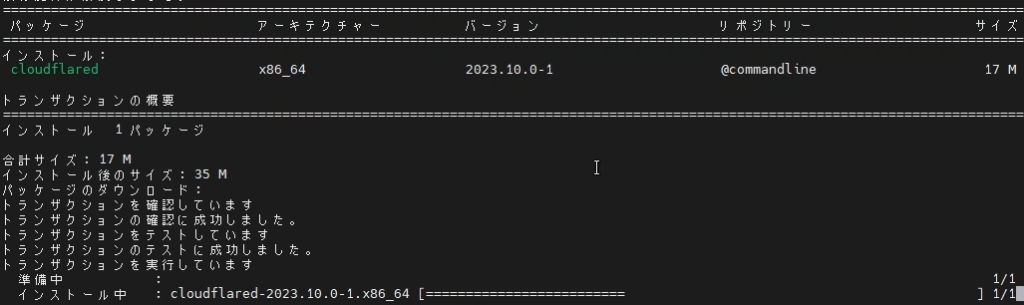
インストールが始まります。インストールが終わると下のようになります。


Connectorsに有効な接続が表示されたらOKです。

あとはこれに割り当てるドメインとパスを入力します。まずはPST Managerを追加してみましょう。
Public hostnameは自由に決めてもらってOK。
PST Managerを追加する場合はServiceのTypeにHTTPを選択しURLにlocalhost:61000と入力します。

これでSave tunnelを押せば完了。
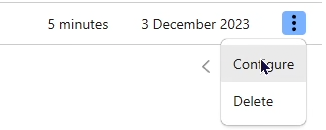
終わったらYour tunnelsを開き先ほど設定したTunnelの設定を開きます。
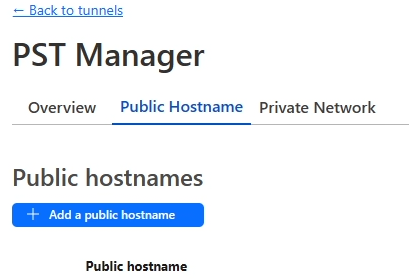
Public Hostnameを開くと項目を追加することができるので、KUSANAGI managerを追加します。
PST Managerとほぼ変わりませんが、ServiceのURLの部分はlocalhost:60000にしてください。
これでパスワードを盗聴されるリスクが軽減されました。お疲れさまでした。
今日は疲れたのでここまでです。体調がよくなったらOAuth認証を設定する手順を紹介します。最後まで見ていただきありがとうございました。

コメント