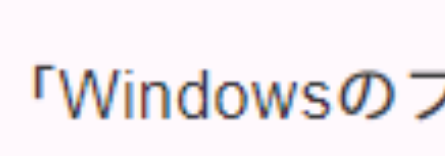
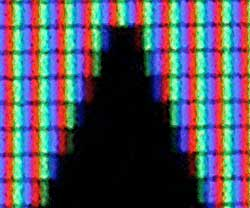
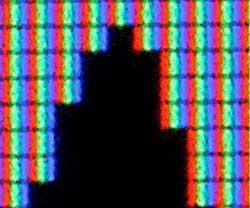
「WindowsのフォントはMacよりも汚い!!」ということをよく聞きます。WindowsにはClearTypeというアンチエイリアスを行う機能があるのですが、いくつかの問題があります。ClearTypeは通常のアンチエイリアスとは違いサブピクセルを使ってアンチエイリアスを行う技術なため、拡大すると色がにじみます。
![](https://smartphone-note.com/wp-content/uploads/2023/05/image-80.png)
![](https://smartphone-note.com/wp-content/uploads/2023/05/image-81.png)
![](https://smartphone-note.com/wp-content/uploads/2023/05/image-82.png)
![](https://smartphone-note.com/wp-content/uploads/2023/05/00013-496763647-1-150x150.png)
どうすればきれいになるんだろ。
そんな悩みを解決するアプリを見つけたので紹介します。
FaithTypeでWindowsの文字レンダリングを改善する
FaithTypeはTrueTypeヒンティングを無効にすることで高解像度な環境での文字レンダリングを改善します。
WordやPowerPointでMS ゴシックを使っているとき、極端に文字が荒くなるときがあると思います。それの原因がTrueTypeヒンティングで、FaithTypeはフォントを加工することで文字のブロック化を回避しています。
![](https://smartphone-note.com/wp-content/uploads/2023/05/image-83.png)
導入方法
Githubからダウンロード
GithubのリポジトリからFaithTypeをダウンロードします。Usageにあるlatest releaseをクリックすればダウンロードできます。
![](https://smartphone-note.com/wp-content/uploads/2023/05/image-84.png)
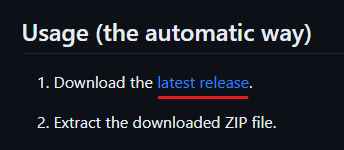
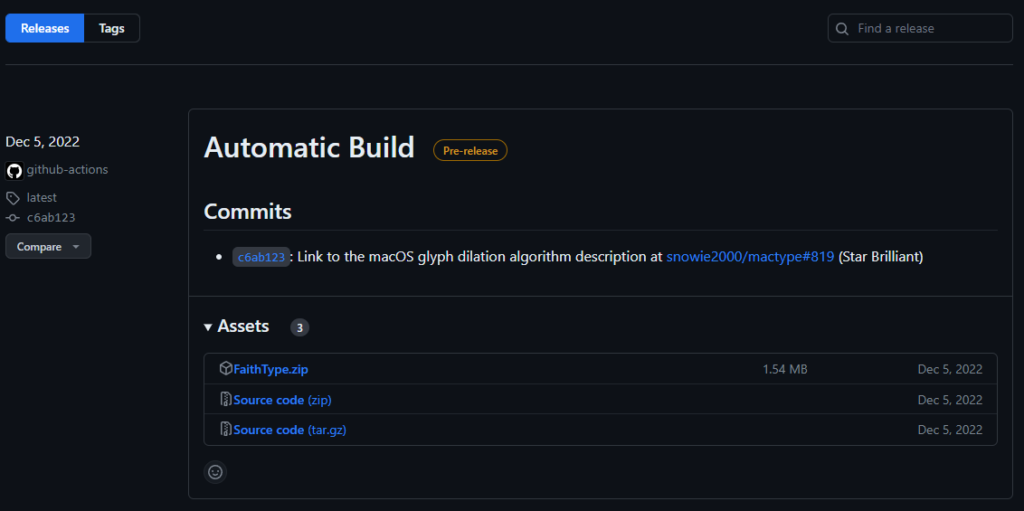
Releaseから直接ダウンロードしてもOK。
![](https://smartphone-note.com/wp-content/uploads/2023/05/image-85-1024x511.png)
解凍してファイルを実行
ダウンロードしたzipファイルを解凍します。
![](https://smartphone-note.com/wp-content/uploads/2023/05/image-86.png)
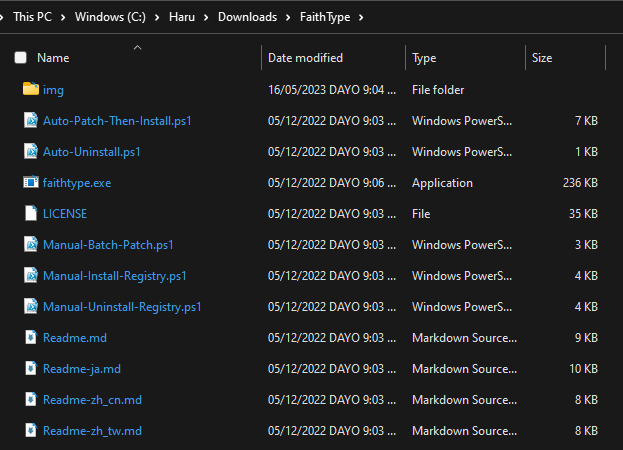
解凍したフォルダ内にあるAuto-Patch-Then-Install.ps1をPowerShellで実行します。
![](https://smartphone-note.com/wp-content/uploads/2023/05/image-87.png)
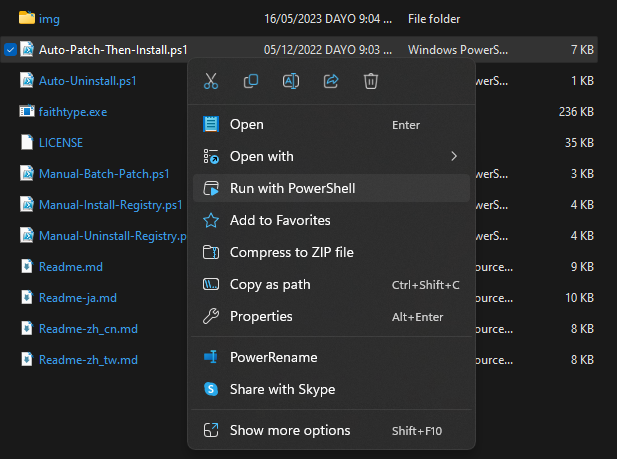
しかし、ほぼすべての環境でエラーが発生します。
![](https://smartphone-note.com/wp-content/uploads/2023/05/image-88-1024x332.png)
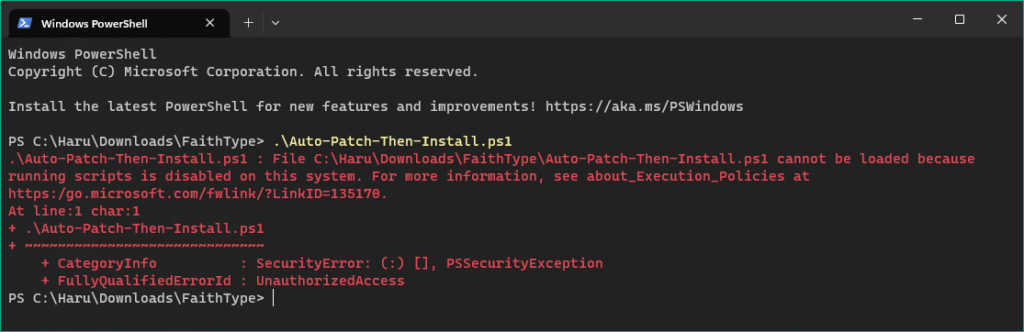
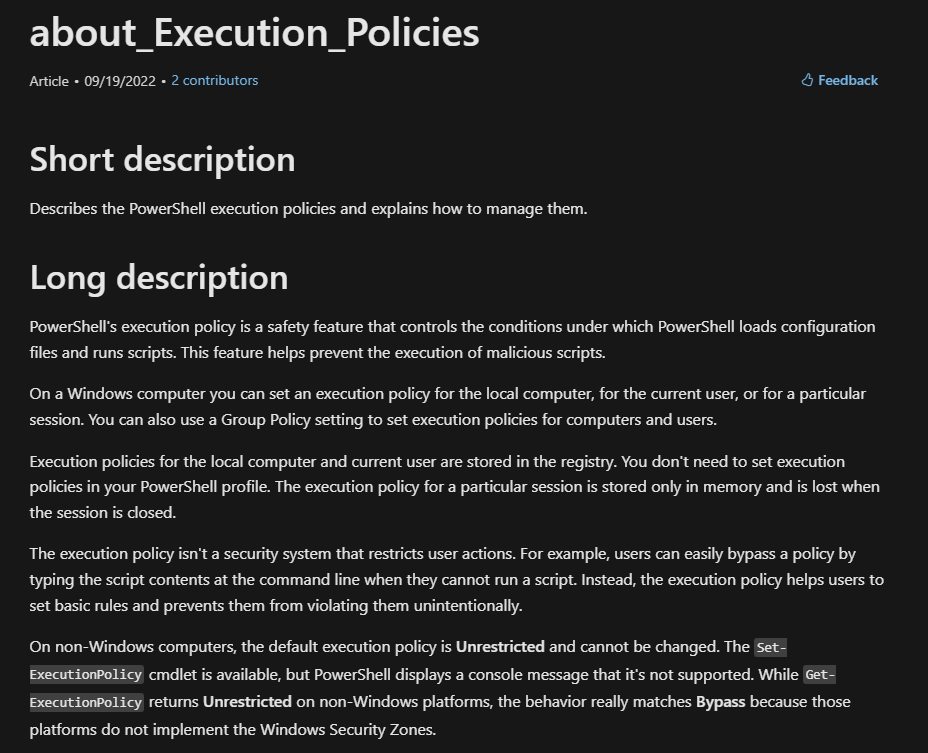
PowerShellを使えばシステムを自由自在に操作することができます。もしすべての場合でPowerShellスクリプトの実行を許可すれば悪意のあるユーザーに乗っ取られるリスクが高まります。安全性を維持するための機能がExecution Policiesというわけです。
![](https://smartphone-note.com/wp-content/uploads/2023/05/image-89.png)
![](https://smartphone-note.com/wp-content/uploads/2023/05/image-90.png)
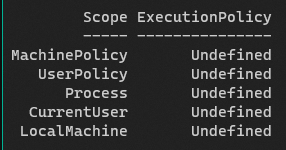
しかし、これでは肝心のインストールができません。当記事の解説ではProcessスコープのポリシーを変更して実行します。
Auto-Patch-Then-Install.ps1が存在するディレクトリで
Set-ExecutionPolicy -ExecutionPolicy Bypass -Scope Process
を実行します。これで、今開いているPowerShellセッションでスクリプトの実行が許可されました。この設定は保存されませんので、セキュリティ的にも安心です。
![](https://smartphone-note.com/wp-content/uploads/2023/05/image-92-1024x577.png)
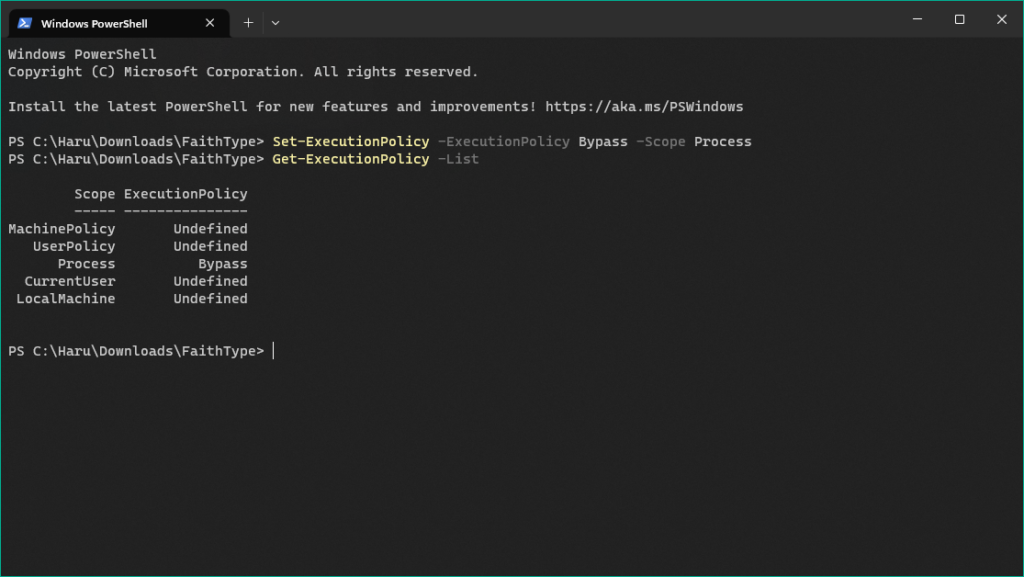
あとはPowerShellスクリプトを実行するだけ。
.\Auto-Patch-Then-Install.ps1
UACを許可するとフォントの処理が始まります。少し時間がかかるので音楽でも聴きましょう。
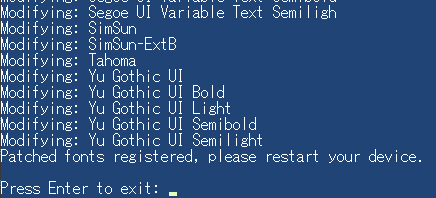
![](https://smartphone-note.com/wp-content/uploads/2023/05/image-93.png)
![](https://smartphone-note.com/wp-content/uploads/2023/05/image-94.png)
処理が完了したら再起動します。
![](https://smartphone-note.com/wp-content/uploads/2023/05/image-96-1024x576.png)
これでインストールは完了です。
効果を体験
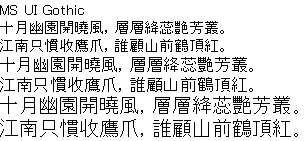
FaithTypeの効果を実際に見てみましょう。
![](https://smartphone-note.com/wp-content/uploads/2023/05/image-97.png)
シャープな感じはなくなりましたが、やわらかい文字になりました。長時間みても目が疲れない字になっているのではないでしょうか。
![](https://smartphone-note.com/wp-content/uploads/2023/05/image-98.png)
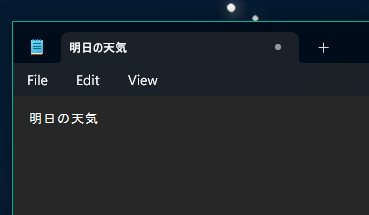
メモ帳でTrueTypeヒンティングの無効化も検証しました。とても小さいですが、文字がブロックになっていません。とても見やすいです。
いかがでしたか。FaithTypeを導入することでWindowsの文字がきれいにすることができました。何時間も使う仕事道具だからこそ、細かい所にも気を使いたいものですね。当ブログではこれ以外にもたくさんのアプリを紹介しています。ぜひご覧ください。
![](https://smartphone-note.com/wp-content/uploads/2023/03/Article13-2-1.png)
最後まで見ていただきありがとうございました。
コメント