

近年、生成系AIは目まぐるしい進化を遂げています。ChatGPT, Stable Diffusion, DALE・E2, Google Bardなど枚挙に暇がありません。また、生成系AIに限らず様々な分野でAIが活用されています。
その分野の一つが「音声変換・ボイスチェンジャー」です。AIを活用したボイスチェンジャーにはたくさんの種類があり、一つ一つが異なるアプローチで処理を行っています。いくつか紹介しましょう。
- so-vits-svc, DDSP-SVC
SoftVCとVITSを組み合わせて変換元話者によらない音質変換を実現。 - RVC
faissによるベクトル類似検索を利用。 - MMVC
- Seiren Voice(予想)
- Diff-SVC
話題の拡散確率モデルを用いたボイスチェンジャー。
これらのAIボイスチェンジャーは高品質、高性能でとても魅力的です。しかし、利用するにあたって不便な点があります。
それが、Pythonで環境構築をしなければならないということです。
 花咲 春
花咲 春環境構築がとても面倒なのです。

上の画像はStable Diffusion Web UIの例です。AIはオープンソースのライブラリを使用して作成されていることが多い、というかほぼすべてのソフトがライブラリを使用しているのです。ライブラリを利用するためには使用する環境でライブラリが導入されていなければならない上、ライブラリの互換性にも配慮する必要があります。バージョンが違って実行すらできないことなんてざらにあります。まるでヨーグルトのようなメンタルを持つ私では精神的に辛いです。
ところが、今までの常識を覆すようなソフトウェアが現れました。
今回はRVCを活用したボイスチェンジャー、Koemake RVC Playerで簡単にAIボイスチェンジャーを体験する方法を紹介します。※ここからはKoemake RVC PlayerをKoemake と省略します。
Koemakeの何がすごいのか
Koemakeのすごいところ、それはPythonで環境構築をする必要がない点です。ソフトウェアに必要なライブラリが内包されているためダウンロードしたらすぐに使い始めることが可能です。それでは、導入手順を紹介しましょう。
導入手順
Koemake Projectにアカウント登録&ダウンロード
まず、Koemake Projectのサイトにアクセスしてアカウントを登録します。
サイト右上のログインボタンを押しましょう。
ログイン画面が出てきたら新規登録タブに移動してメールアドレス、パスワードを設定してアカウントを作成します。
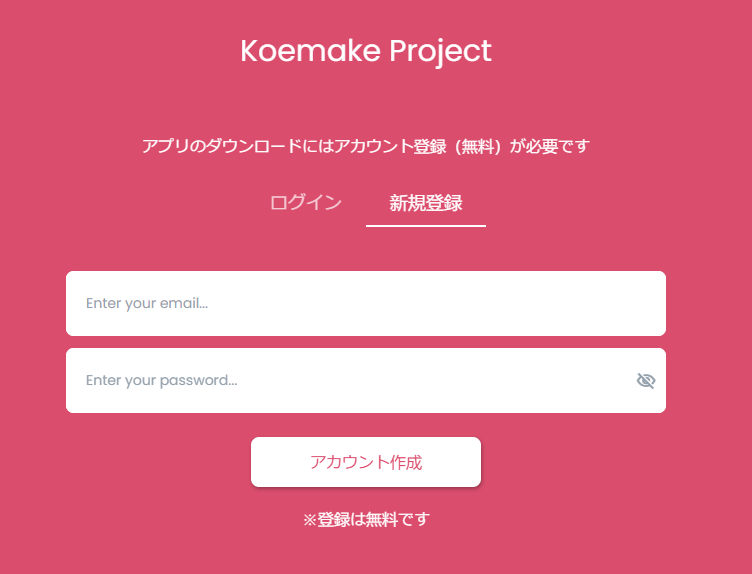
アカウント登録が完了すると自動でログインされます。
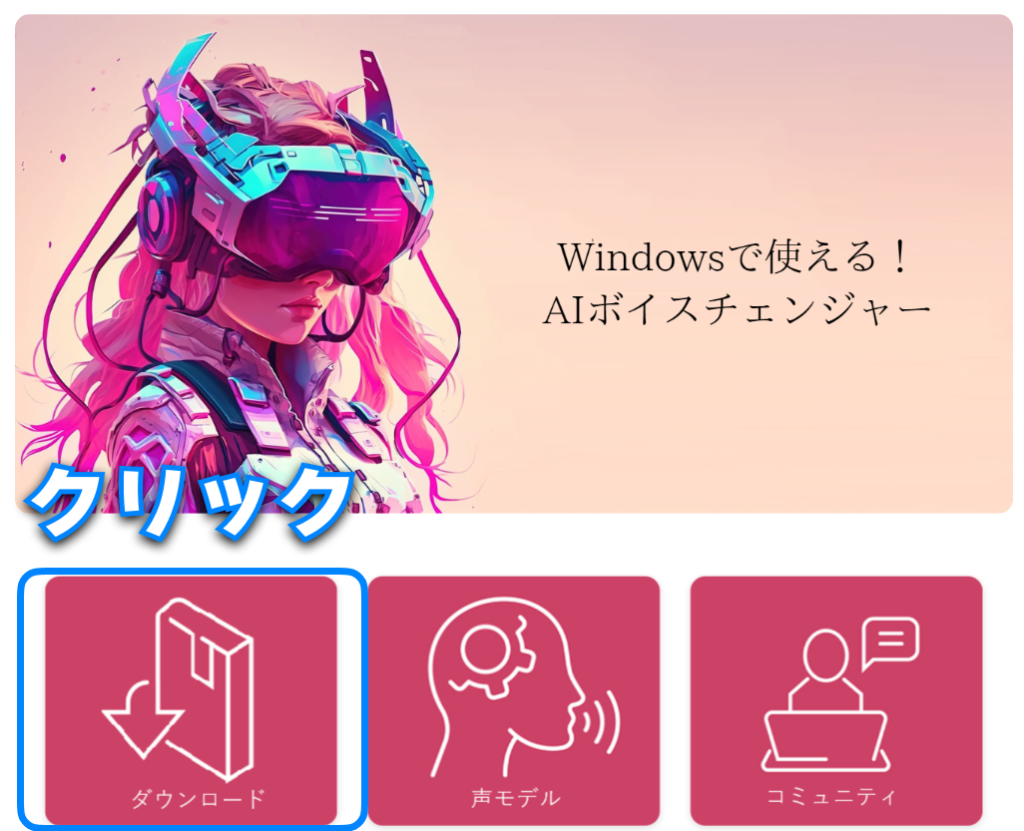
ログインした状態でページの真ん中あたりにあるダウンロードボタンをクリックします。
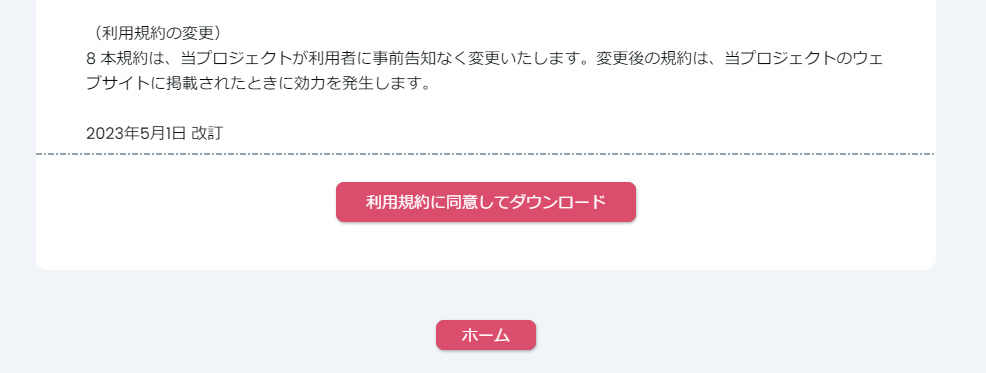
利用規約に目を通した後、利用規約に同意してダウンロードボタンを押します。
 花咲 春
花咲 春利用規約の内容をまとめると
1.再配布しちゃダメだよ
2.つくよみちゃんプロジェクトの規約に従ってね
3.不具合が出ても責任は取りません
となっています。単純明快で分かりやすいですね。
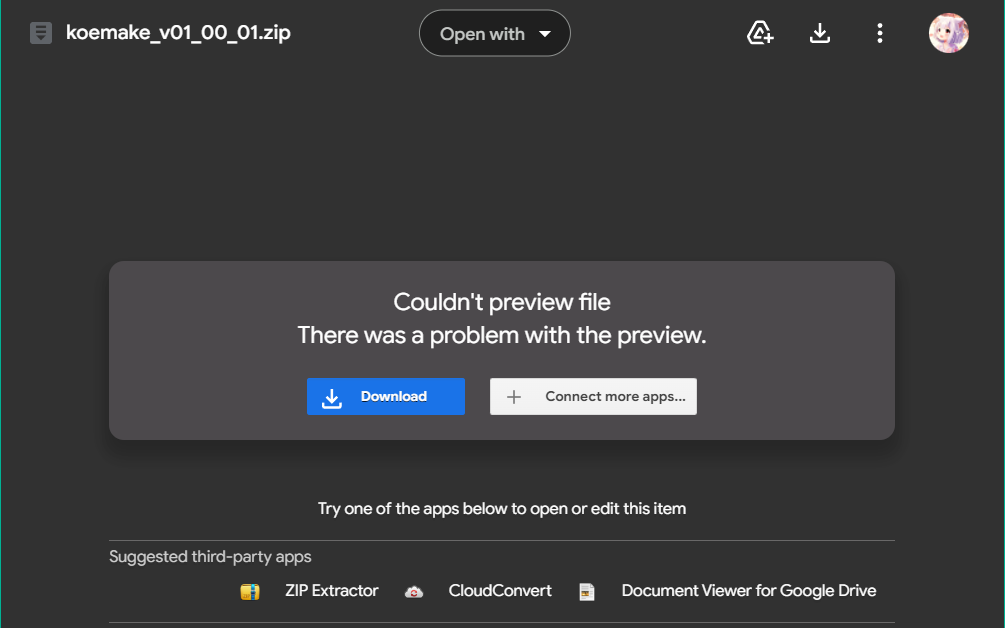
Google Driveのリンクが開きますので、ダウンロードでzipファイルをダウンロードします。
ダウンロードしたzipファイルを解凍します。
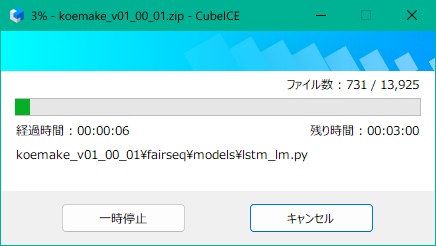
これでソフトウェアの準備は完了です。
Koemakeを開く
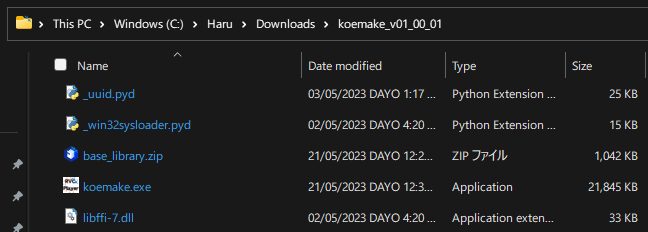
koemake.exeを実行します。
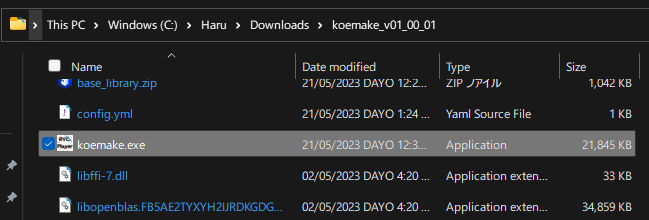
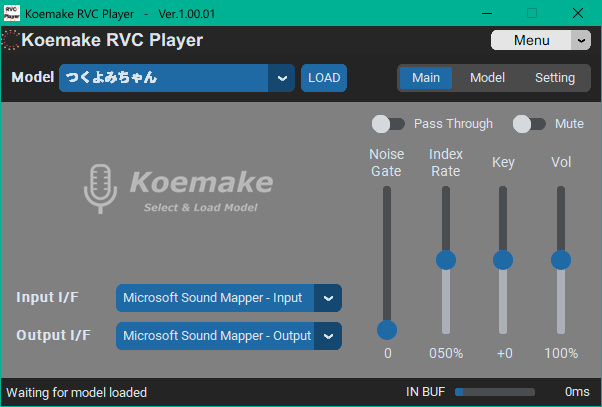
起動できましたね。
使い方
花咲 春ここで、スペシャルゲストをお呼びしました! つくよみちゃんの登場です!
 つくよみちゃん
どうも、つくよみちゃんです。
花咲 春特技が営業スマイルって本当ですか!?
つくよみちゃんそうですよ!
みんなを笑顔にしたい、その一心で頑張っています。
花咲 春そうなんですね。
ここからはつくよみちゃんと一緒にKoemakeの具体的な使い方、応用方法を紹介します。
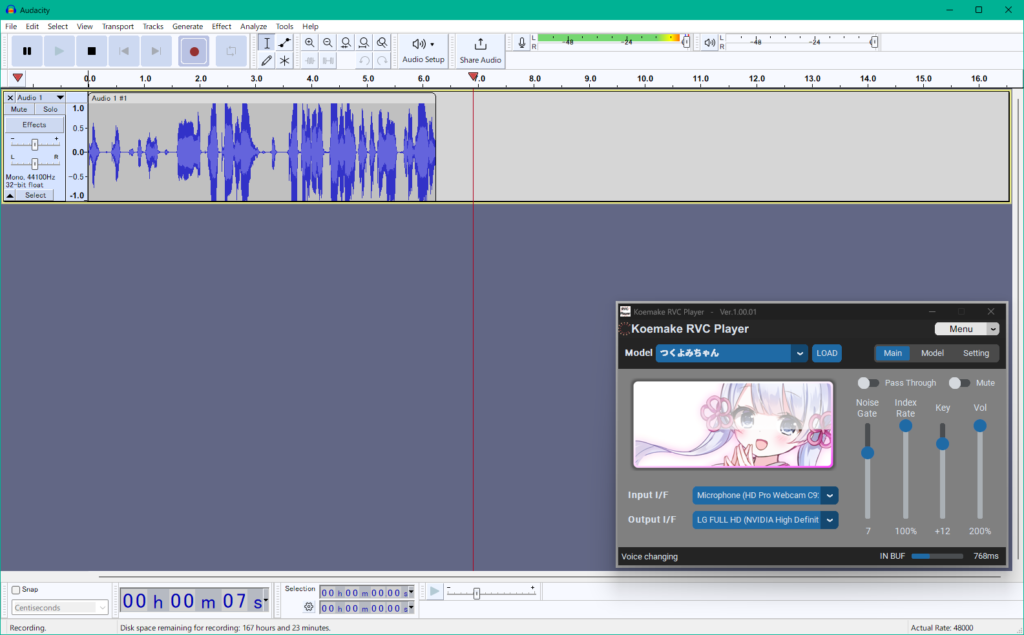
UIの図解
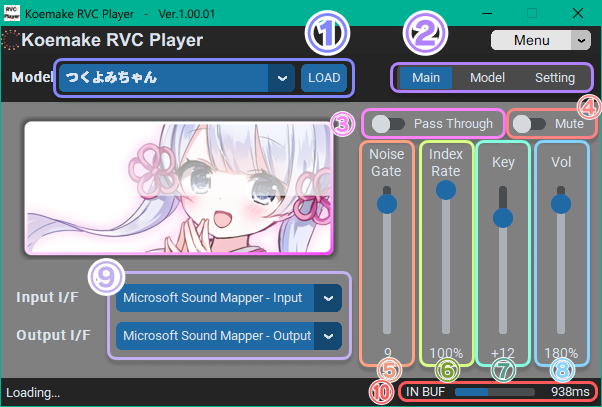
① ターゲット音声(モデル) ※現状はつくよみちゃんのみ
② メニュー切り替え
③ マイクの音声をパススルー
④ 出力をミュート
⑤ ノイズ除去 音声にノイズが乗るときは値を上げる
⑥ どれだけ入力音声をターゲット音声(モデル)にフィットさせるかのパラメーター 声に合わせて調整
⑦ 変換後の声の高さを調整するパラメーター 男性→女性なら+12 女性から男性なら-12 同性なら0が基準
⑧ 変換後の音量を調整するパラメーター
⑨ 入力、出力デバイス
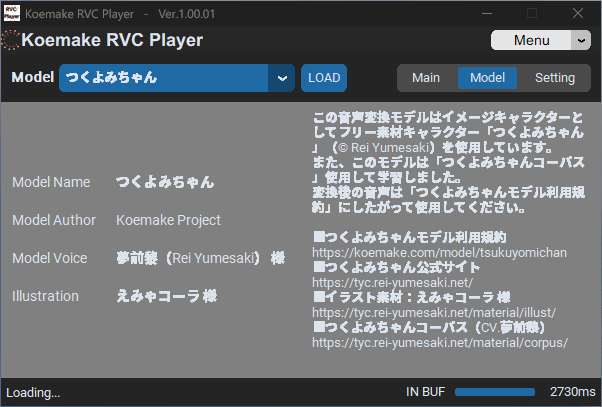
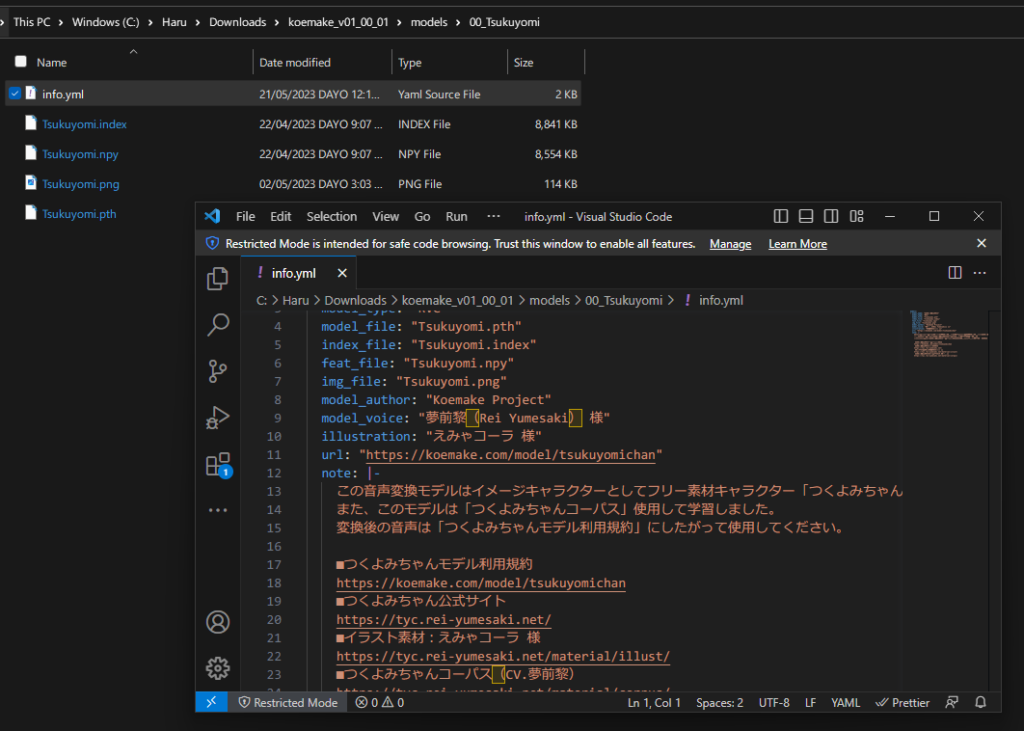
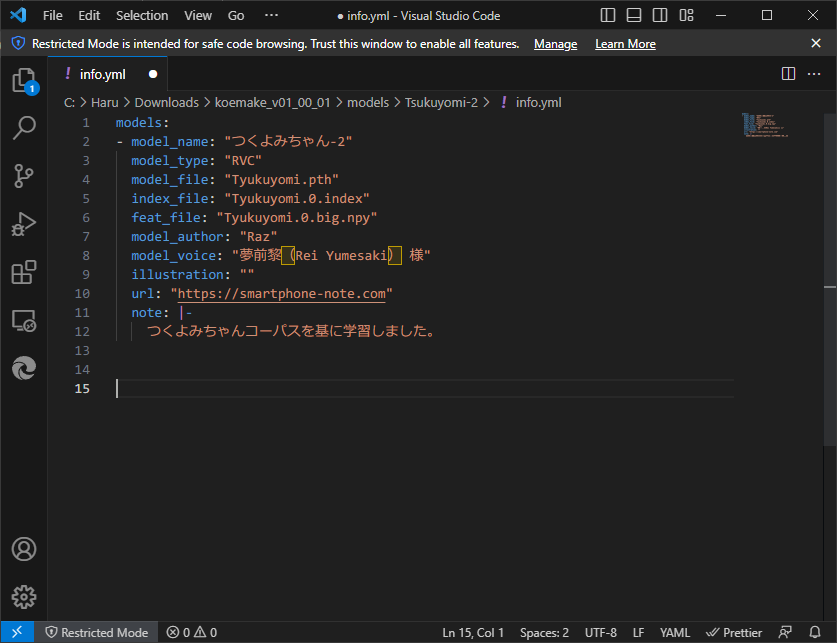
使用しているモデルの詳細が表示されます。この内容はモデルフォルダのinfo.ymlで確認、編集することもできます。
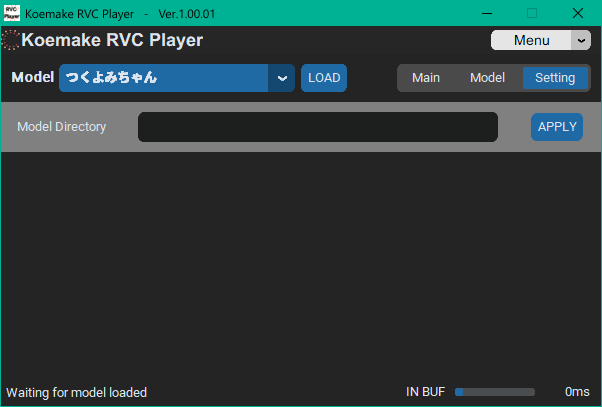
モデルのディレクトリを追加で指定できます。「外付けSSDに保存しているモデルを使いたい!」というときにモデルが存在するフォルダを指定すれば読み込みます。なお、ディレクトリを指定したからと言って本体付属のモデルが使用できなくなることはありません。
実際にボイスチェンジをする
ボイスチェンジの手順を紹介します。
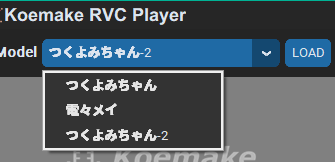
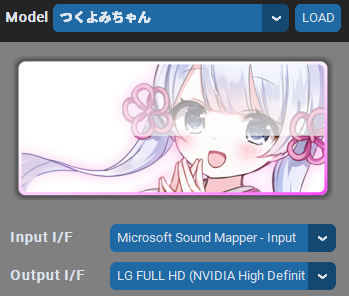
モデルを読み込む
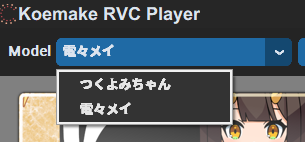
モデルはドロップダウンメニューから選択することができます。
選択できたらモデルを読み込むにはLOADボタンを押します。モデルの読み込みが始まるので、待ちましょう。

音声変換が始まると左下の表示がVoice changingに切り替わります。
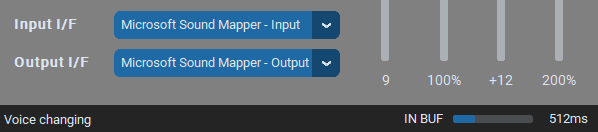
この設定の場合、標準の音声入力デバイスの音声を変換して標準の音声出力デバイスに出力します。
他のマイクを使いたい場合はInput I/Fを変えて、他のスピーカー等に音声を流したい場合はOutput I/Fを変えます。
モデルを追加する
RVCモデルを追加することができます。モデルの学習方法は後日紹介予定ですが、軽く導入方法だけ紹介します。
花咲 春今回は事前学習データにこれを利用した
つくよみちゃんのデータを追加してみましょう。
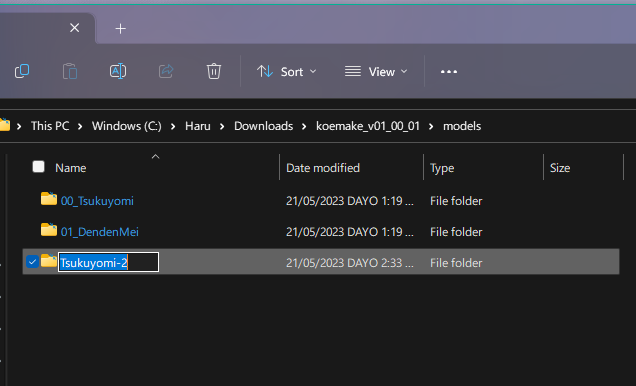
modelフォルダに新規フォルダを作成します。名前は適当なものをつけましょう。
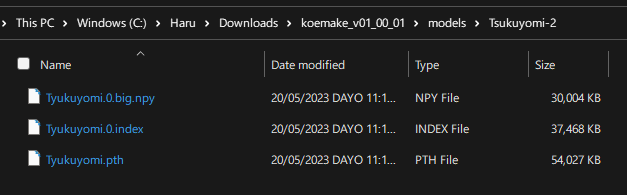
次に、音声モデルファイル(.pth)、インデックスファイル(.index)、特徴ファイル(.npy)を入れます。
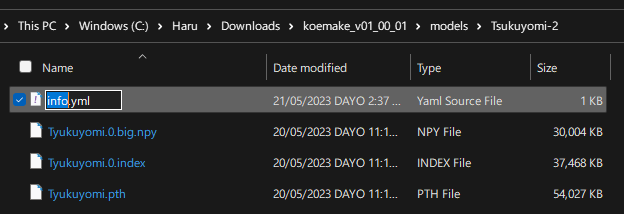
次に、info.ymlを作成します。
モデルができたらKoemakeを起動します。モデル一覧を見てみると、追加されていることがわかります。
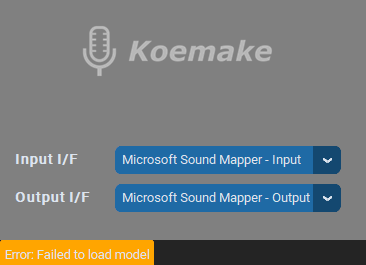
これで実行できる…と思ったのですが読み込めませんでした。DMで問い合わせたところ、768次元で学習したモデルに対応していないそうです。
VoiceMeeterでシステム音声をリアルタイムに変換
花咲 春既存の音源やシステム音声を変換したいときはどうすればいいのでしょうか。
つくよみちゃんそういうときは、VoiceMeeterを使いましょう。
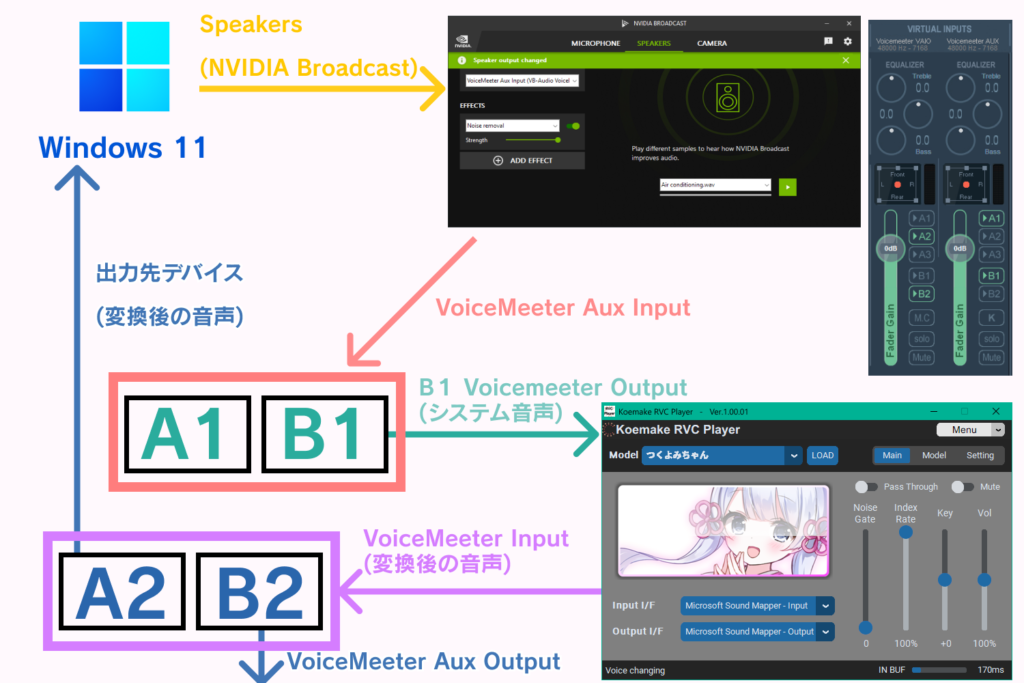
VoiceMeeter Bananaで仮想音声デバイスを作成するとKoemakerでシステム音声等をリアルタイムで変換できるようになります。※ VoiceMeeterでは音声デバイスが足りません。
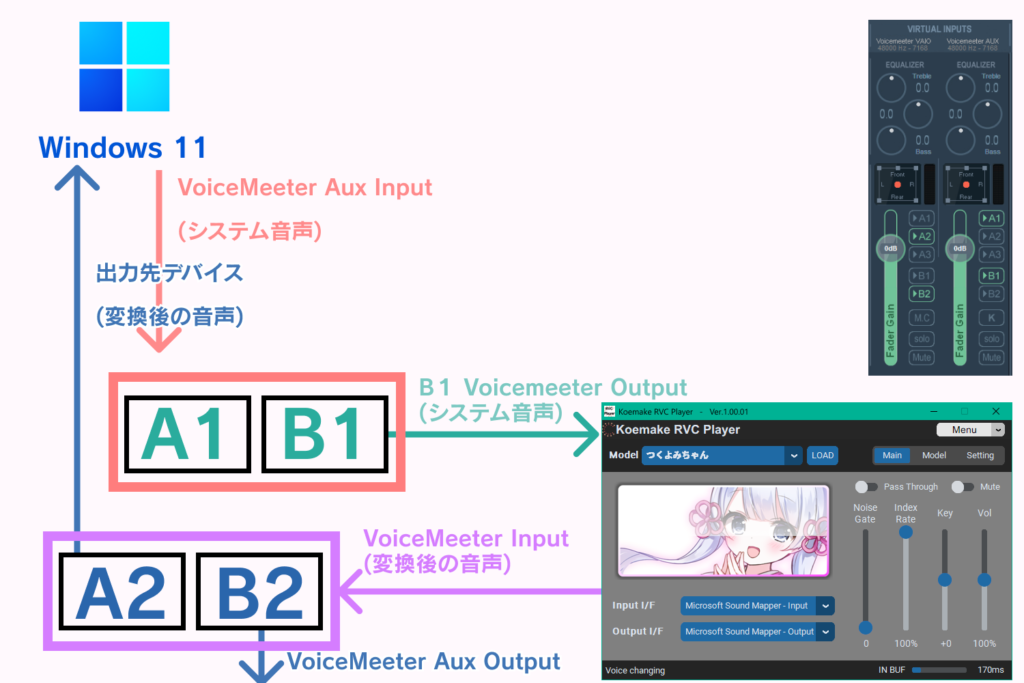
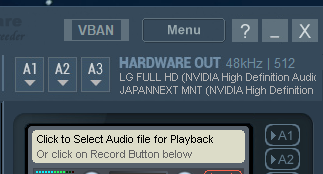
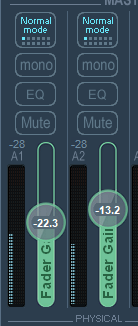
HARDWARE OUTのA1にオリジナルのシステム音声を流したい音声出力デバイス、
A2に変換後の音声を流したい音声出力デバイスを設定します。
出力先の音量を下げるためにFade Gainを下げます。
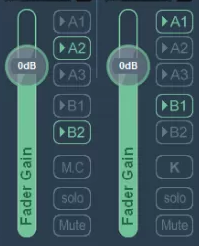
VIRTUAL INPUTSの出力先は以下の画像のように設定します。
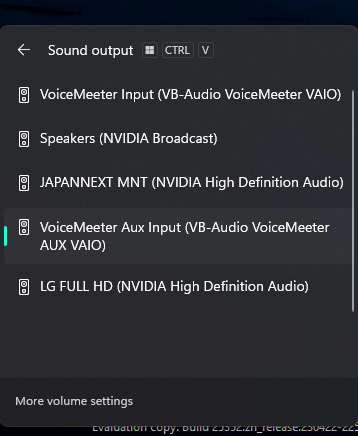
次に、Windows側の音声出力デバイスをVoiceMeeter Aux Inputにします。
Koemake RVC Playerの設定は以下の画像のように設定します。
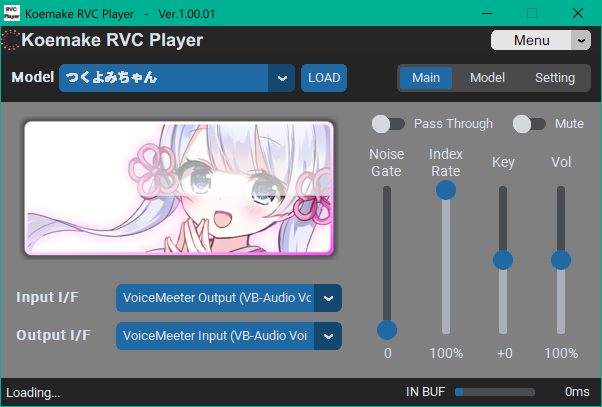
この状態で音声を再生するとKoemake RVC Playerで処理された音が聞こえてきます。
NVIDIA Broadcastをインストールしている場合、Noise removalエフェクトに通すことで良い結果を得られます。
変換後の音声を録音する方法
つくよみちゃん変換後の音声はVoiceMeeterで簡単に録音できるよ!
花咲 春WASPIのloopbackで録音してもいいね。
Audacityで録音
Audacityで音声出力デバイスの音声を録音することができます。
 花咲 春
花咲 春上の例では音声出力先がLG FULL HDになっていますね。
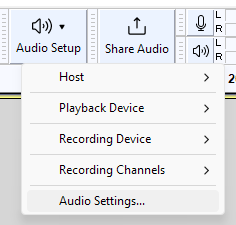
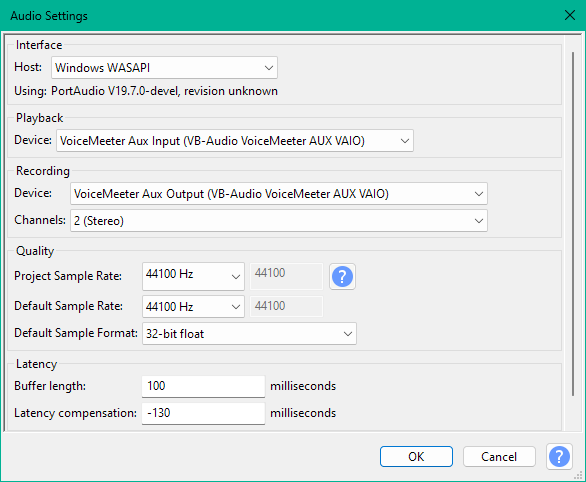
Audio Settingsを開きます。
HostをWindows WASPI、Recording DeviceをOutput I/Fに設定したデバイスにします。
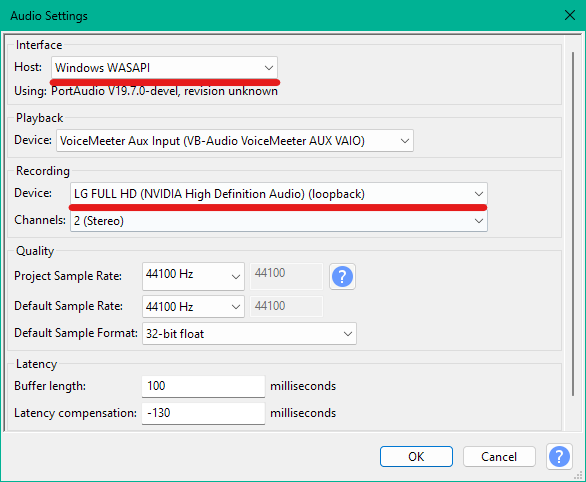
これで録音ボタンを押せば変換後の音声が録音されます。
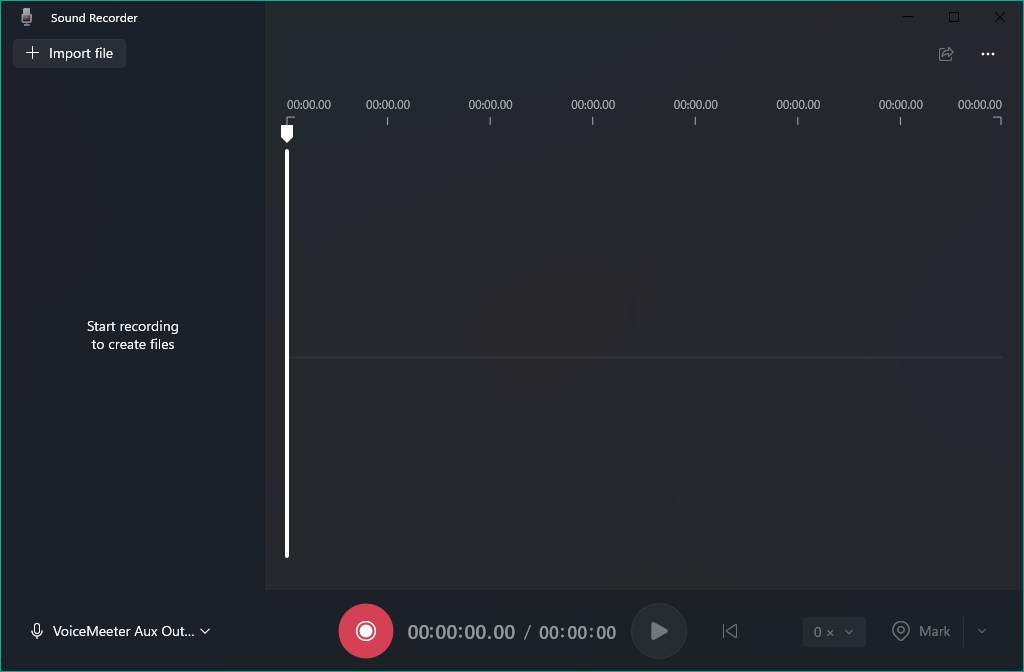
VoiceMeeter Bananaを使う
VoiceMeeterでシステム音声をリアルタイムに変換の項目でVoiceMeeter Bananaの設定ができている場合、VoiceMeeter Aux Outputから録音できます。録音ソフトは何でも構いません。
 つくよみちゃん
シンプルで分かりやすいですね。
さいごに
花咲 春実際に使ってみたけれど、とても自然な声で驚きました。
つくよみちゃんたまに音を認識できずおかしくなることありますが、
それもご愛嬌ということで。
花咲 春今後の進化が楽しみですね。
今後、歌声の変換方法やきれいに変換するコツなどを追記する予定です。
最後まで見ていただきありがとうございました。

コメント